Using WordPress Full Site Editor
Accessing the Editor
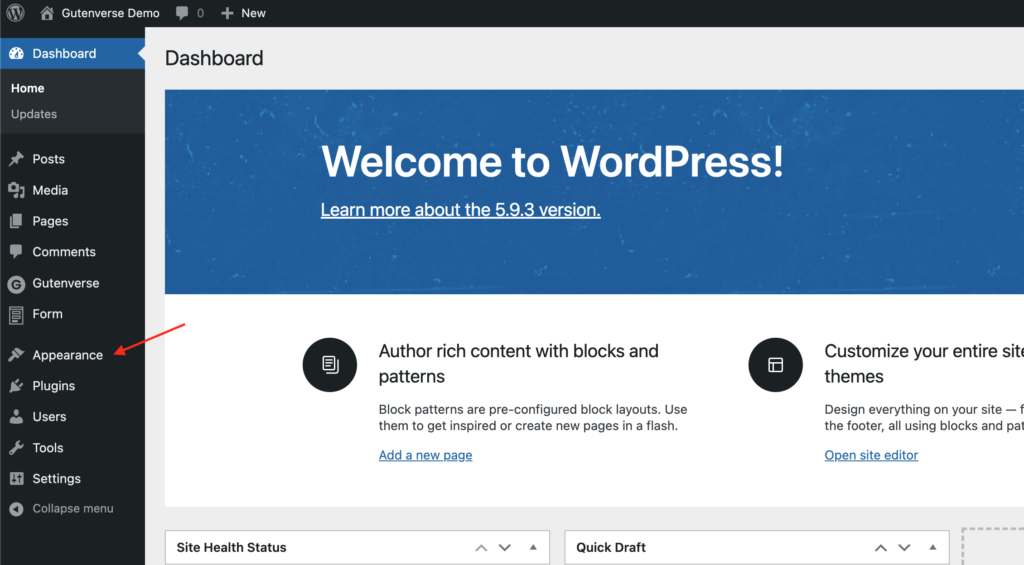
On your WordPress Dashboard, go directly to the Appearance section.
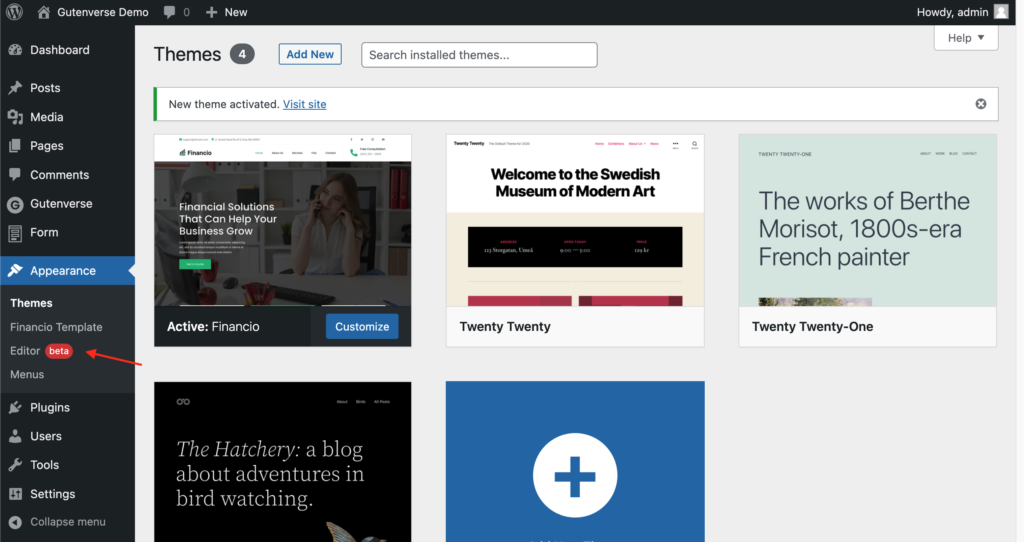
Under the Appearance menu, click on the Editor sub-menu. (Note: If this sub-menu didn’t appear, that means either you’re not using WordPress version 5.9 and above or you are not using a theme that supports Full Site Editing. Please check our docs about how to install the theme here).
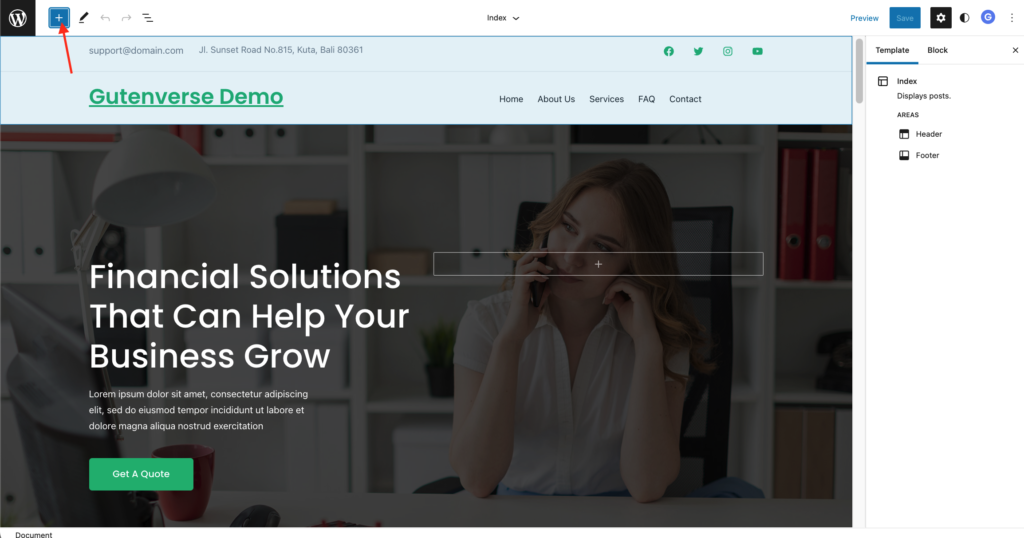
After that, the Editor will open and preview the current template your theme is using (For example in Figure 3, Financio index template is shown).
Accessing the Page Templates
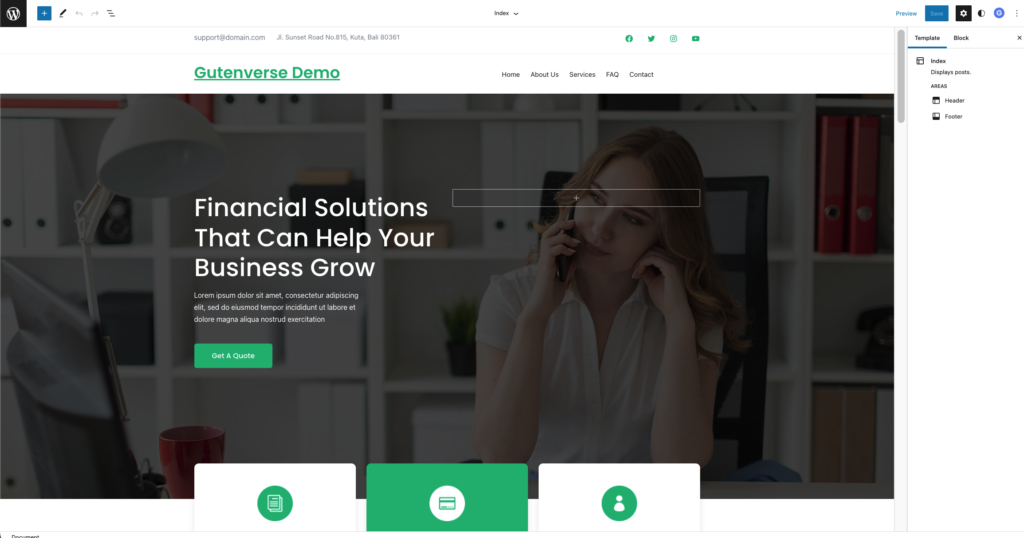
There are two ways of accessing the templates (arrows no 1 and 2 in Figure 4).
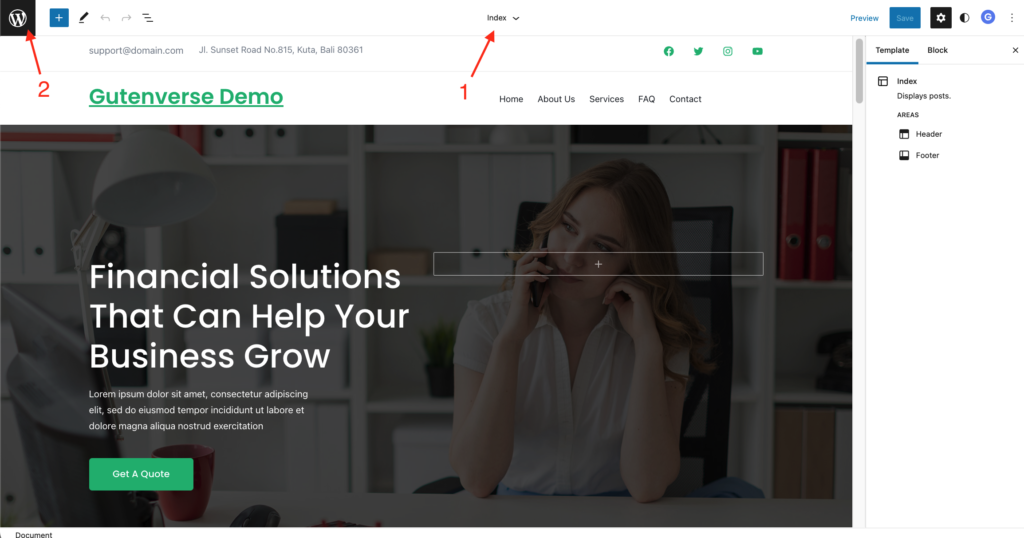
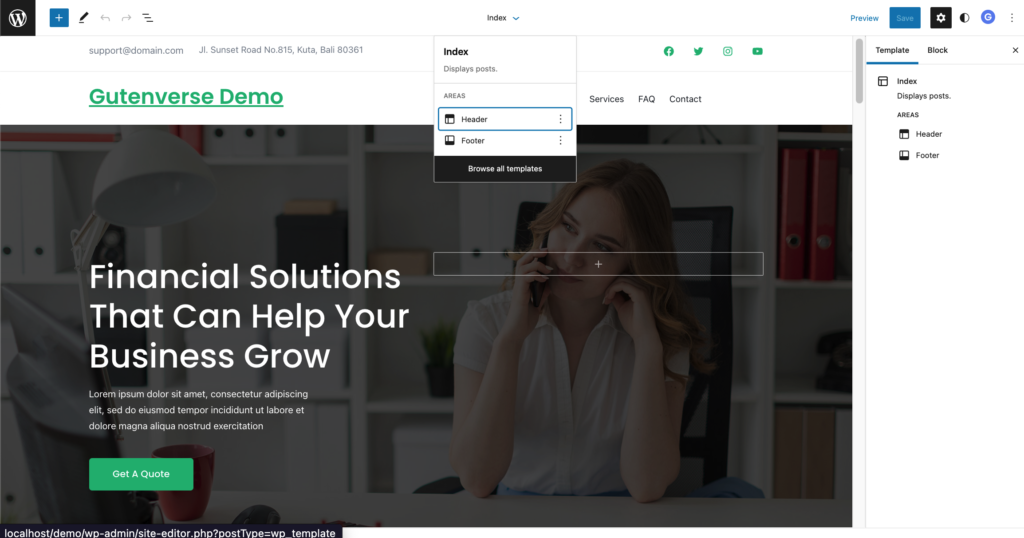
When you click the Index text (no 1 in Figure 4), a dropdown will appear (Figure 5). You can click on browse templates, then a sidebar will appear (Figure 6).
When you click the WordPress icon (no 2 in Figure 4), a sidebar will appear.
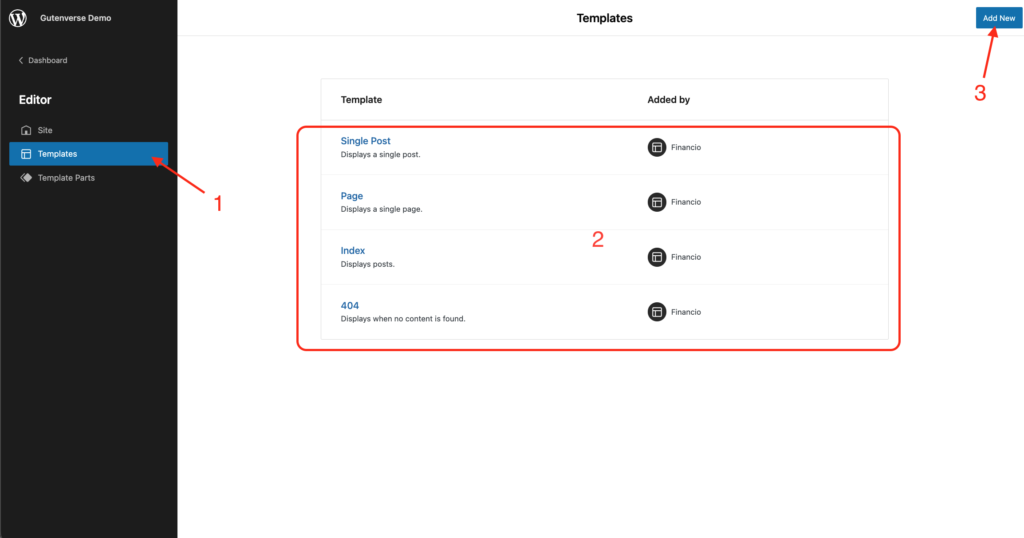
Click on the Templates (no 1 in Figure 6), then a list of your templates will appear (no 2 in Figure 6).
You can click on one of your templates to start editing it or click Add New button (no 3 in Figure 6) to add new available template.
Accessing the Header, Footer, and Template Parts
To access Template Parts (including Header & Footer), you can access the templates list the same way as in Figure 4. When you click on one of the way, a sidebar will appear and a list of your templates.
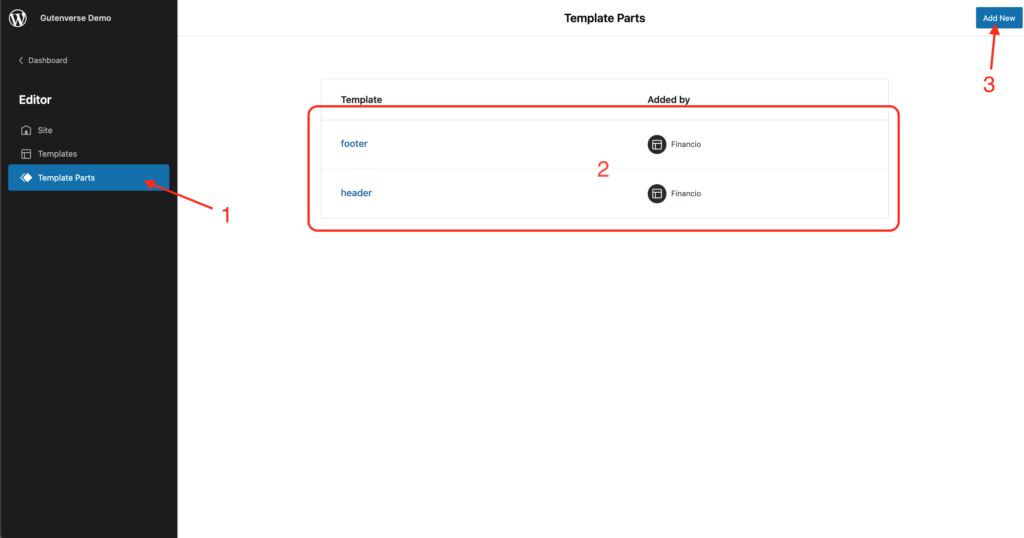
After that click on Template Parts (no 1 in Figure 7), then your template parts list will appear (no 2 in Figure 7).
You can click on one of your template parts to start editing it or click Add New button (no 3 in Figure 7) to add new available template.
To access your template parts in your templates, you can click on the plus button on the top left inside your editor.
Then type “template” inside the search bar (no 1 in Figure 9), after that a list of blocks called Template Part, Header, and Footer will appear (no 2 in Figure 9).
You can add them to your current template, and start positioning, mixing and matching your template parts.