













Last Update: September 3, 2026
This guide shows how to send a custom email notification when someone submits a contact form. Use this when site owners, admins, sales teams, or support teams need to receive submitted form data by email.
Before You Start
Make sure you already have:
For a basic contact form, use these Input IDs:
| Field | Input ID |
| Text Input | input-name |
| Email Input | input-email |
| Textarea | input-message |
These Input IDs become placeholders in the email, such as {{input-name}}, {{input-email}}, and {{input-message}}.
Add the Form Builder
1. Open the page that contains your contact form.
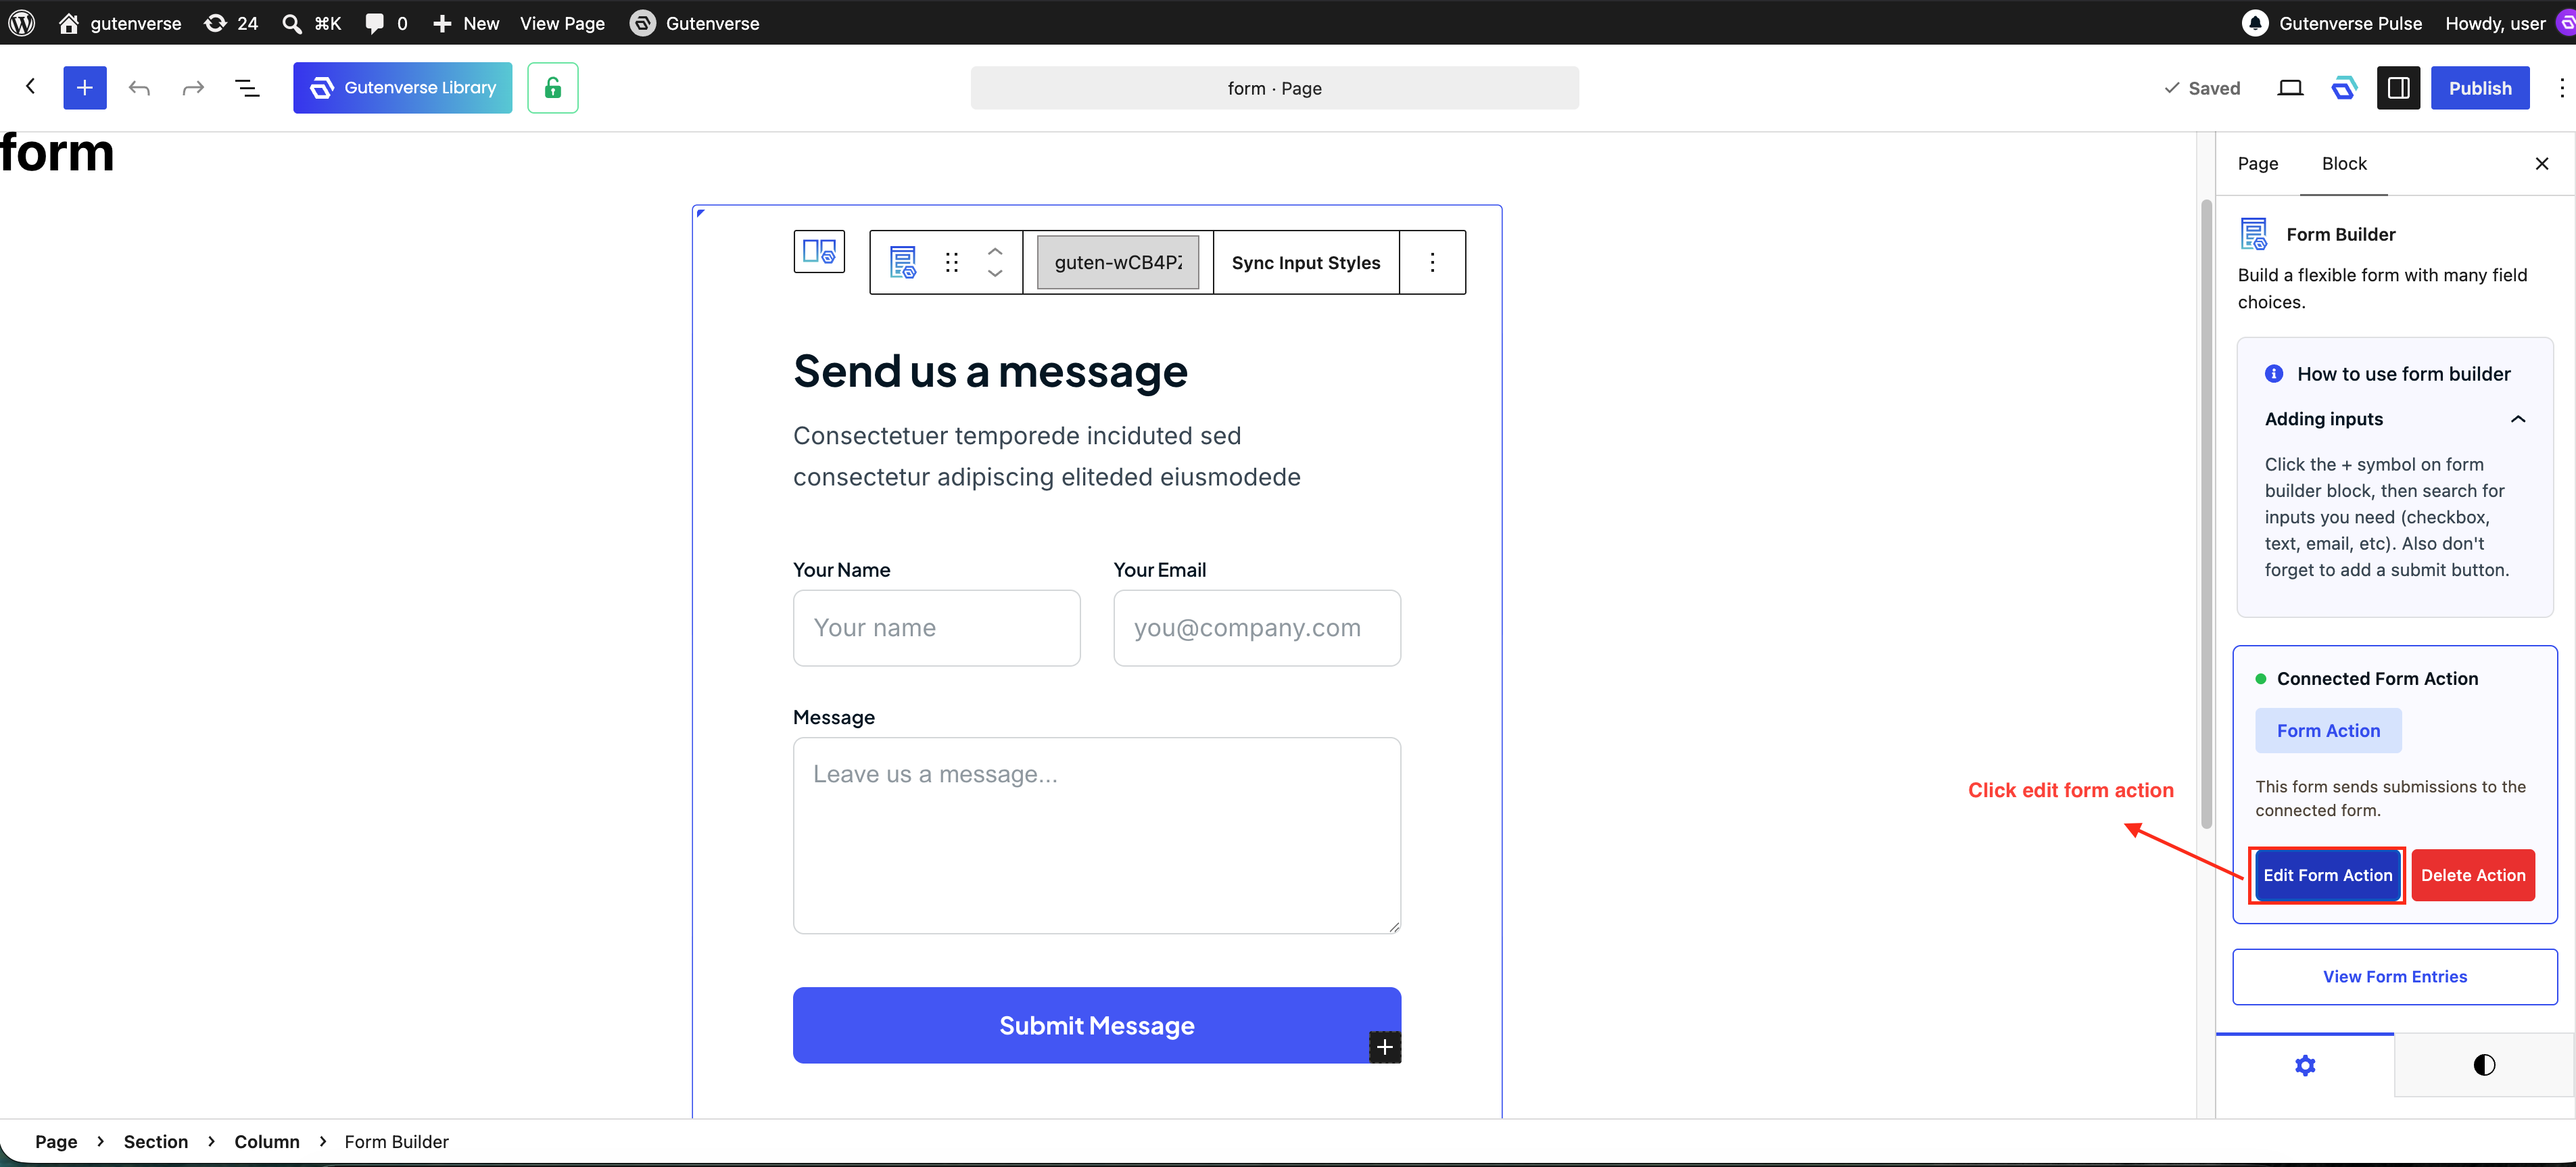
2. Select the Form Builder block.
3. Find the connected Form Action card.
4. Click Edit Form Action.
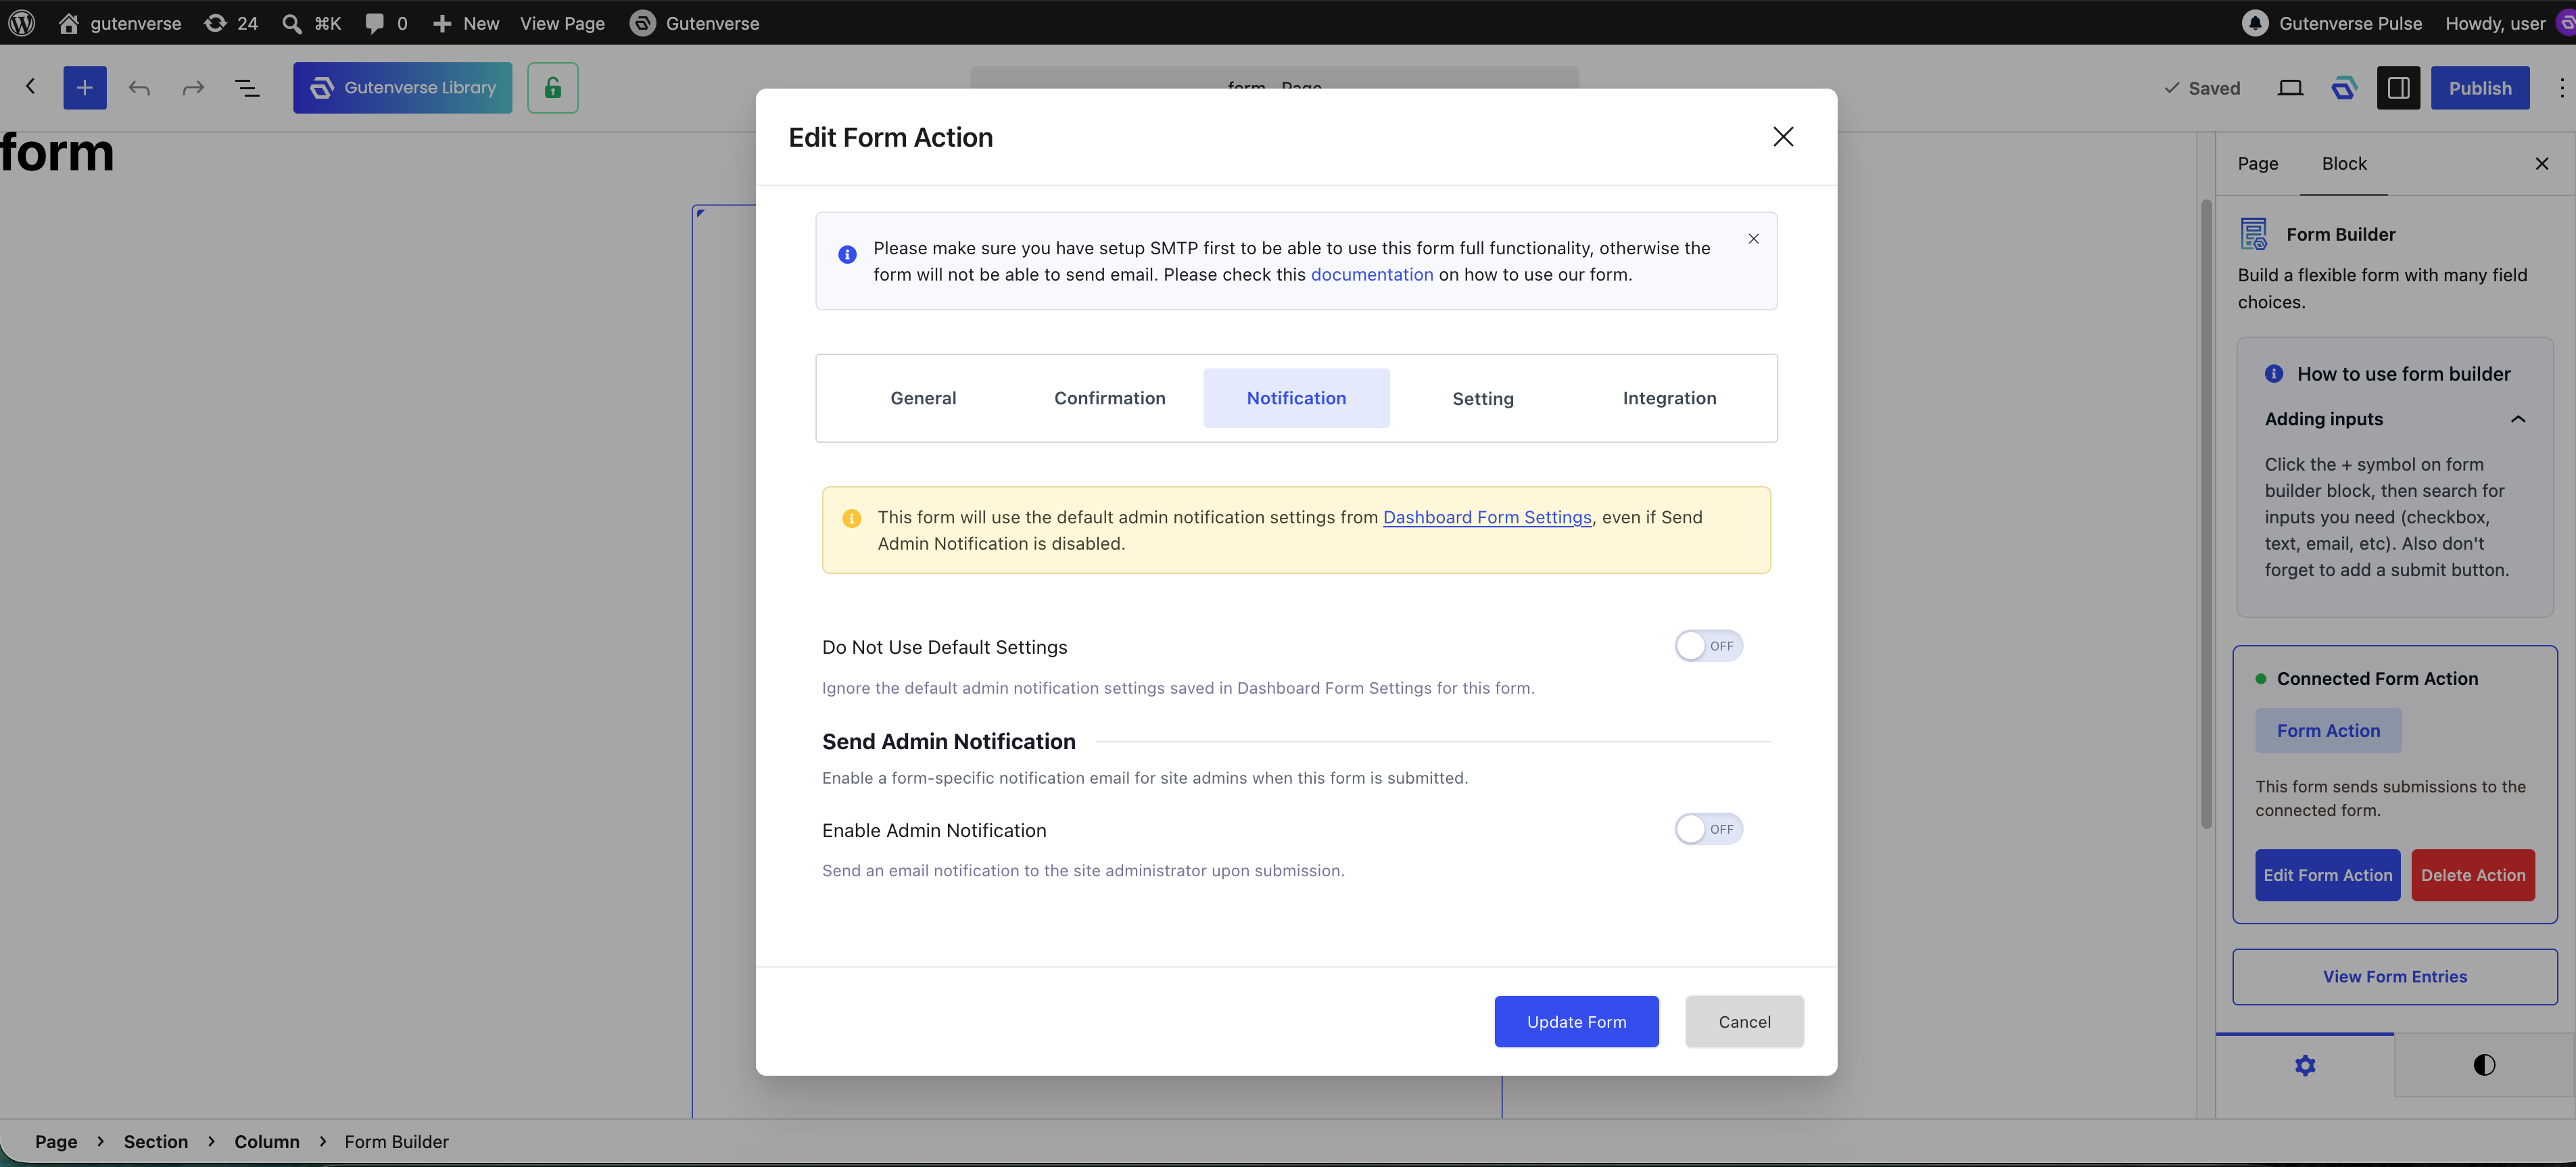
5. Open the Notification tab.
The Notification tab is used for admin or team emails.
Enable Admin Notification
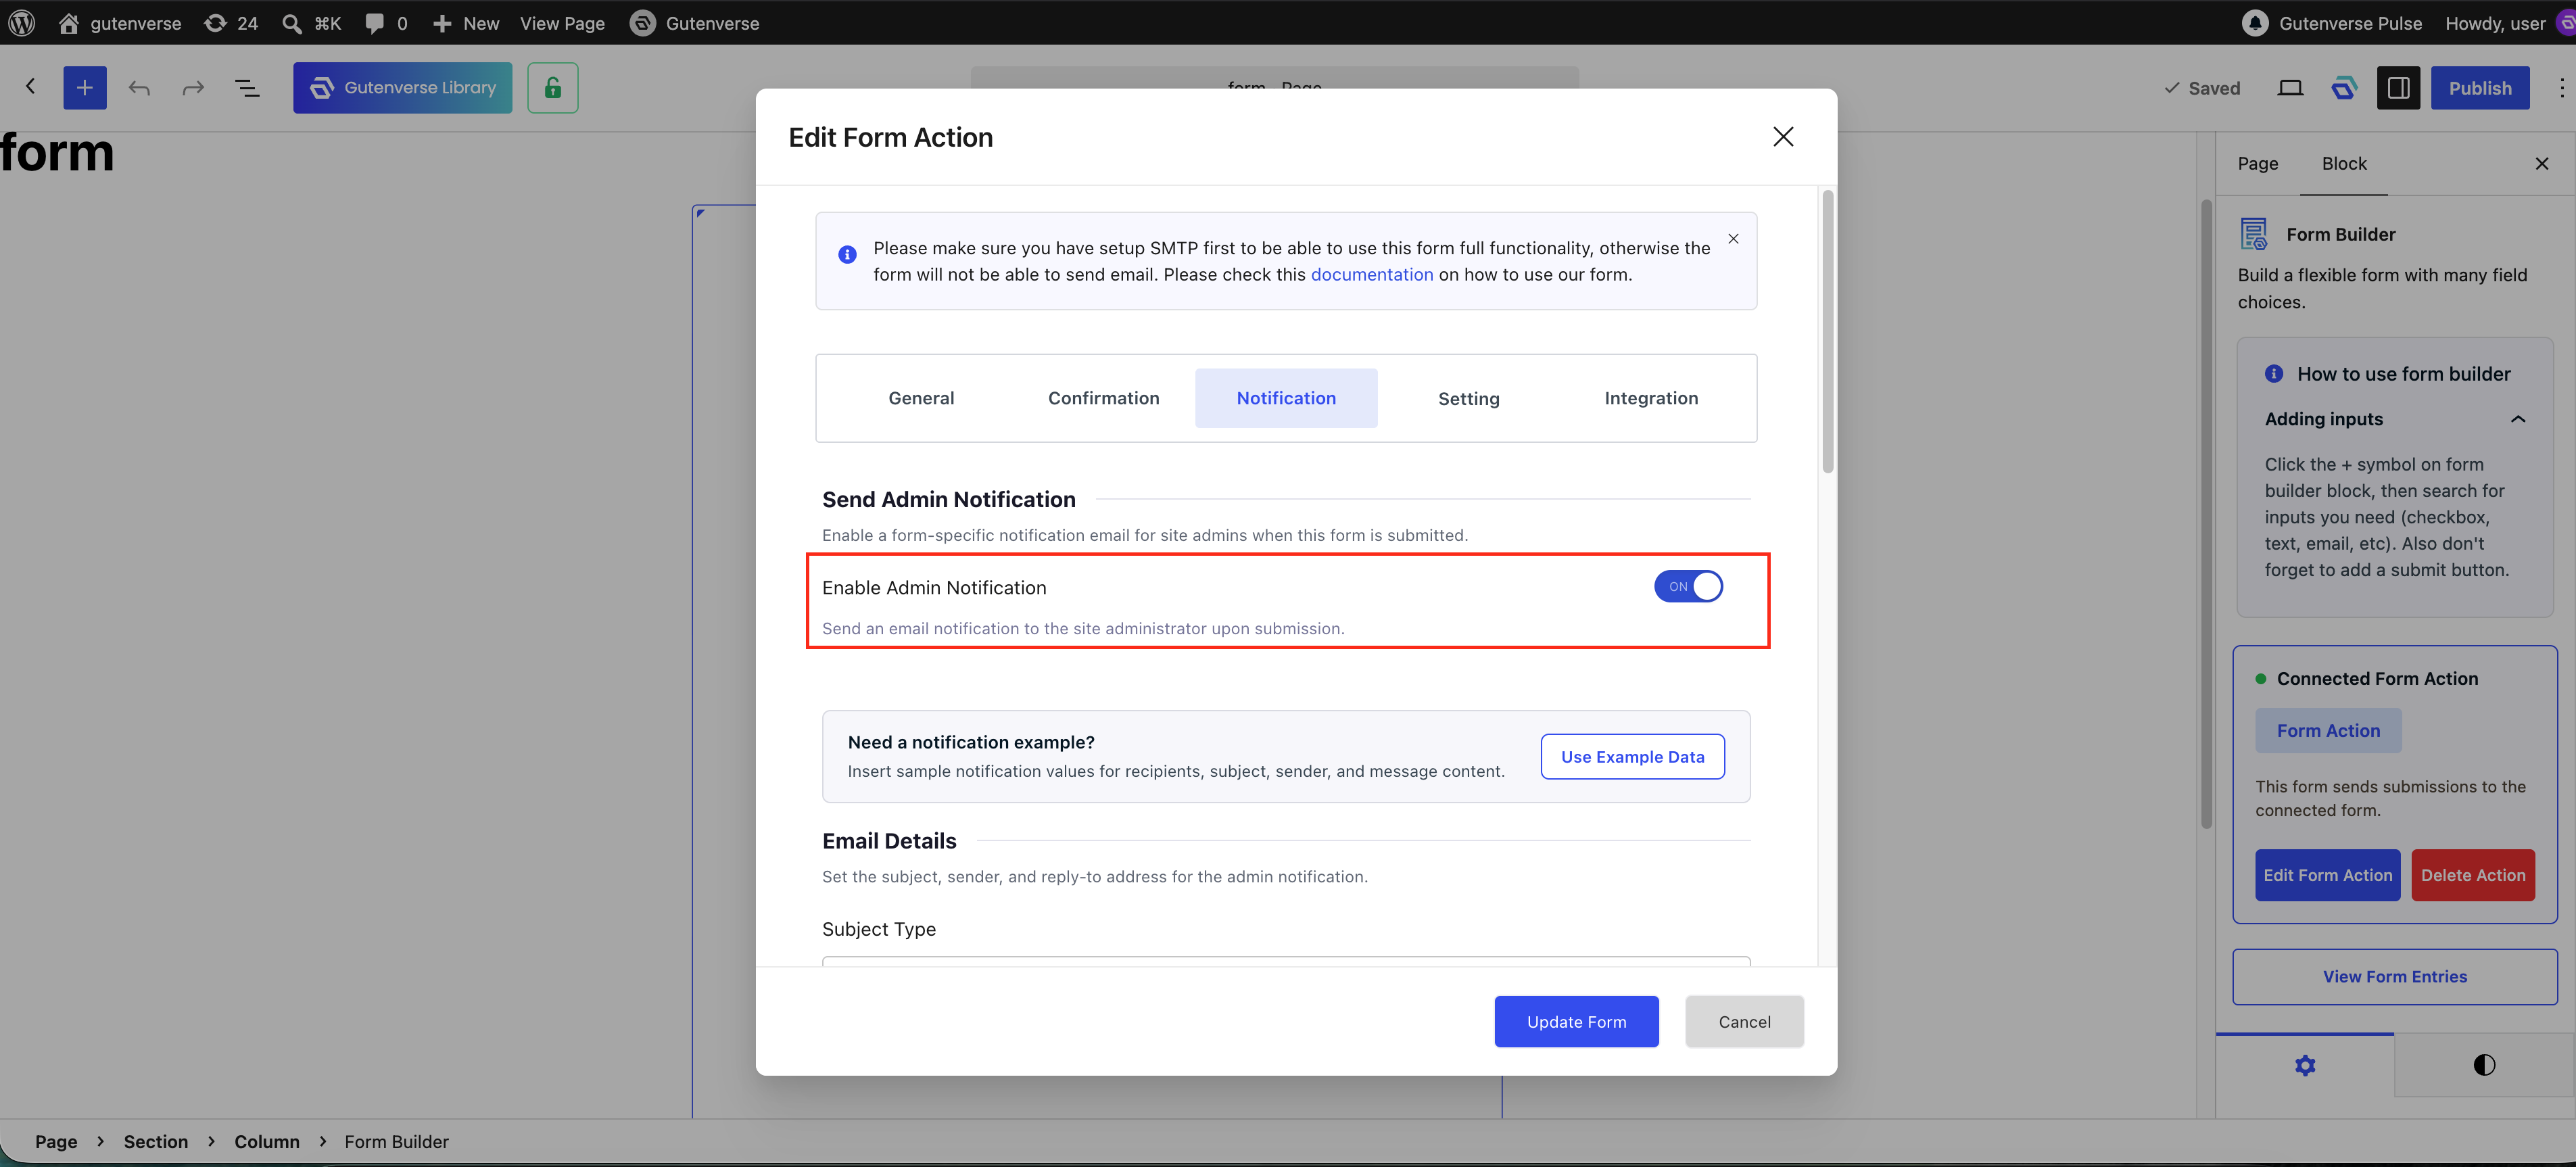
1. Turn on Send Admin Notification.
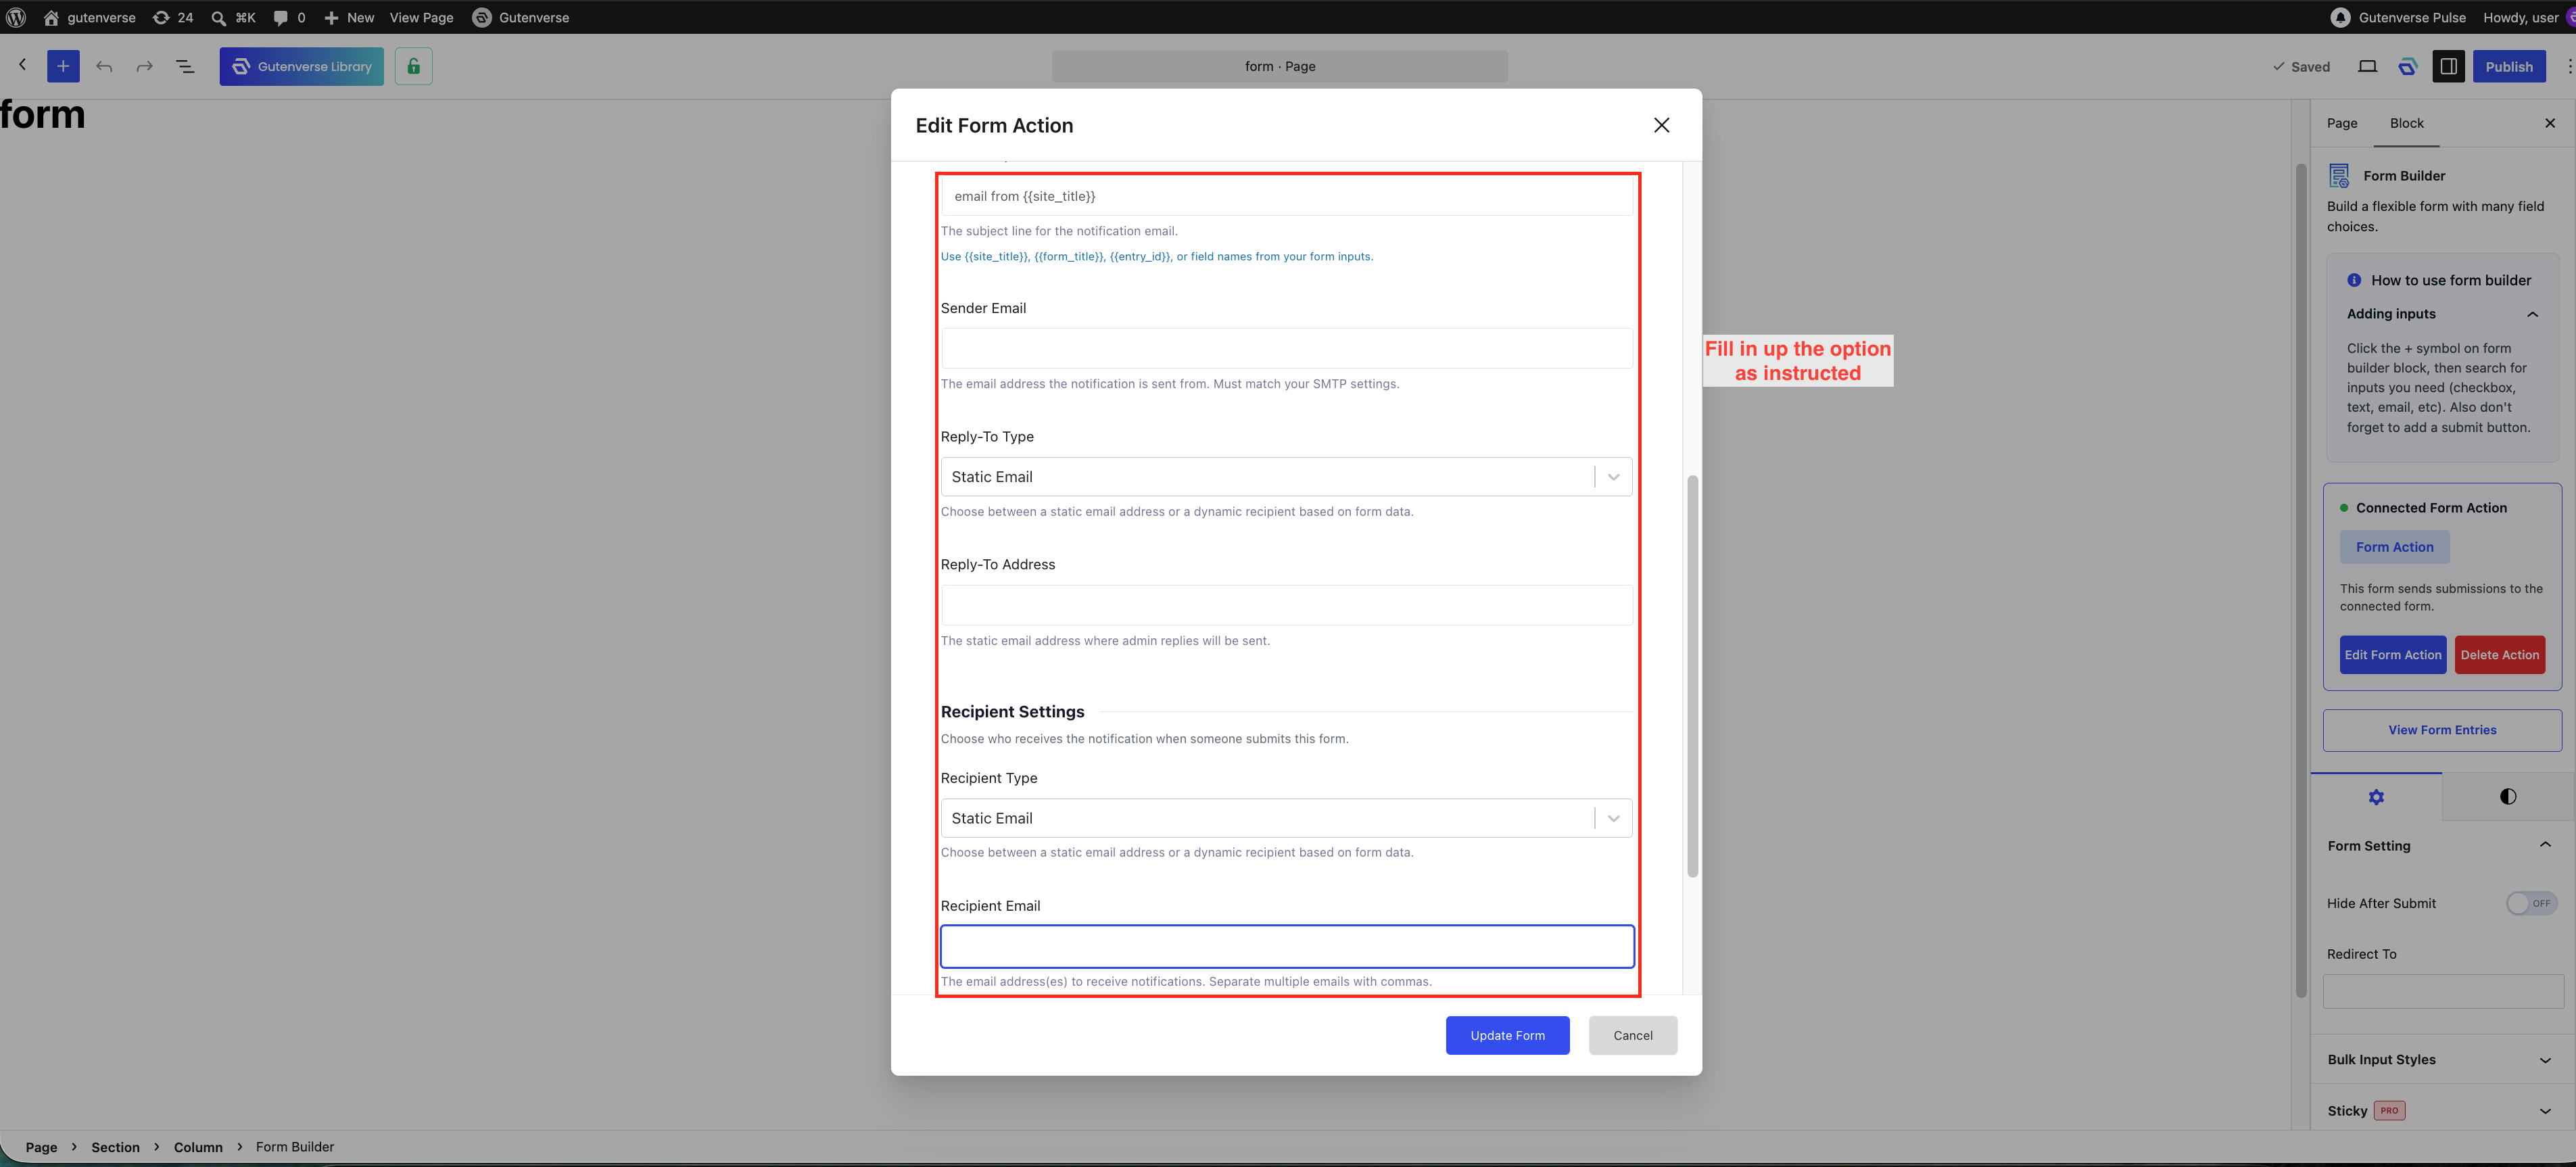
2. Add an Email Subject.
3. Set the Sender Email.
4. Set the Reply-To Type.
5. Set the recipient.
Use a Sender Email from the same domain as your website or SMTP mailbox. For example, if your site is example.com, use an address like:
hello@example.com
Choose the Recipient Type
Use Static Email when the notification should always go to the same address.
Example:
admin@example.com
For multiple static recipients, separate emails with commas.
Example:
sales@example.com,support@example.com
Use Dynamic Recipient only when the recipient should come from post data or another dynamic source available on your site.
Write the Custom Email Body
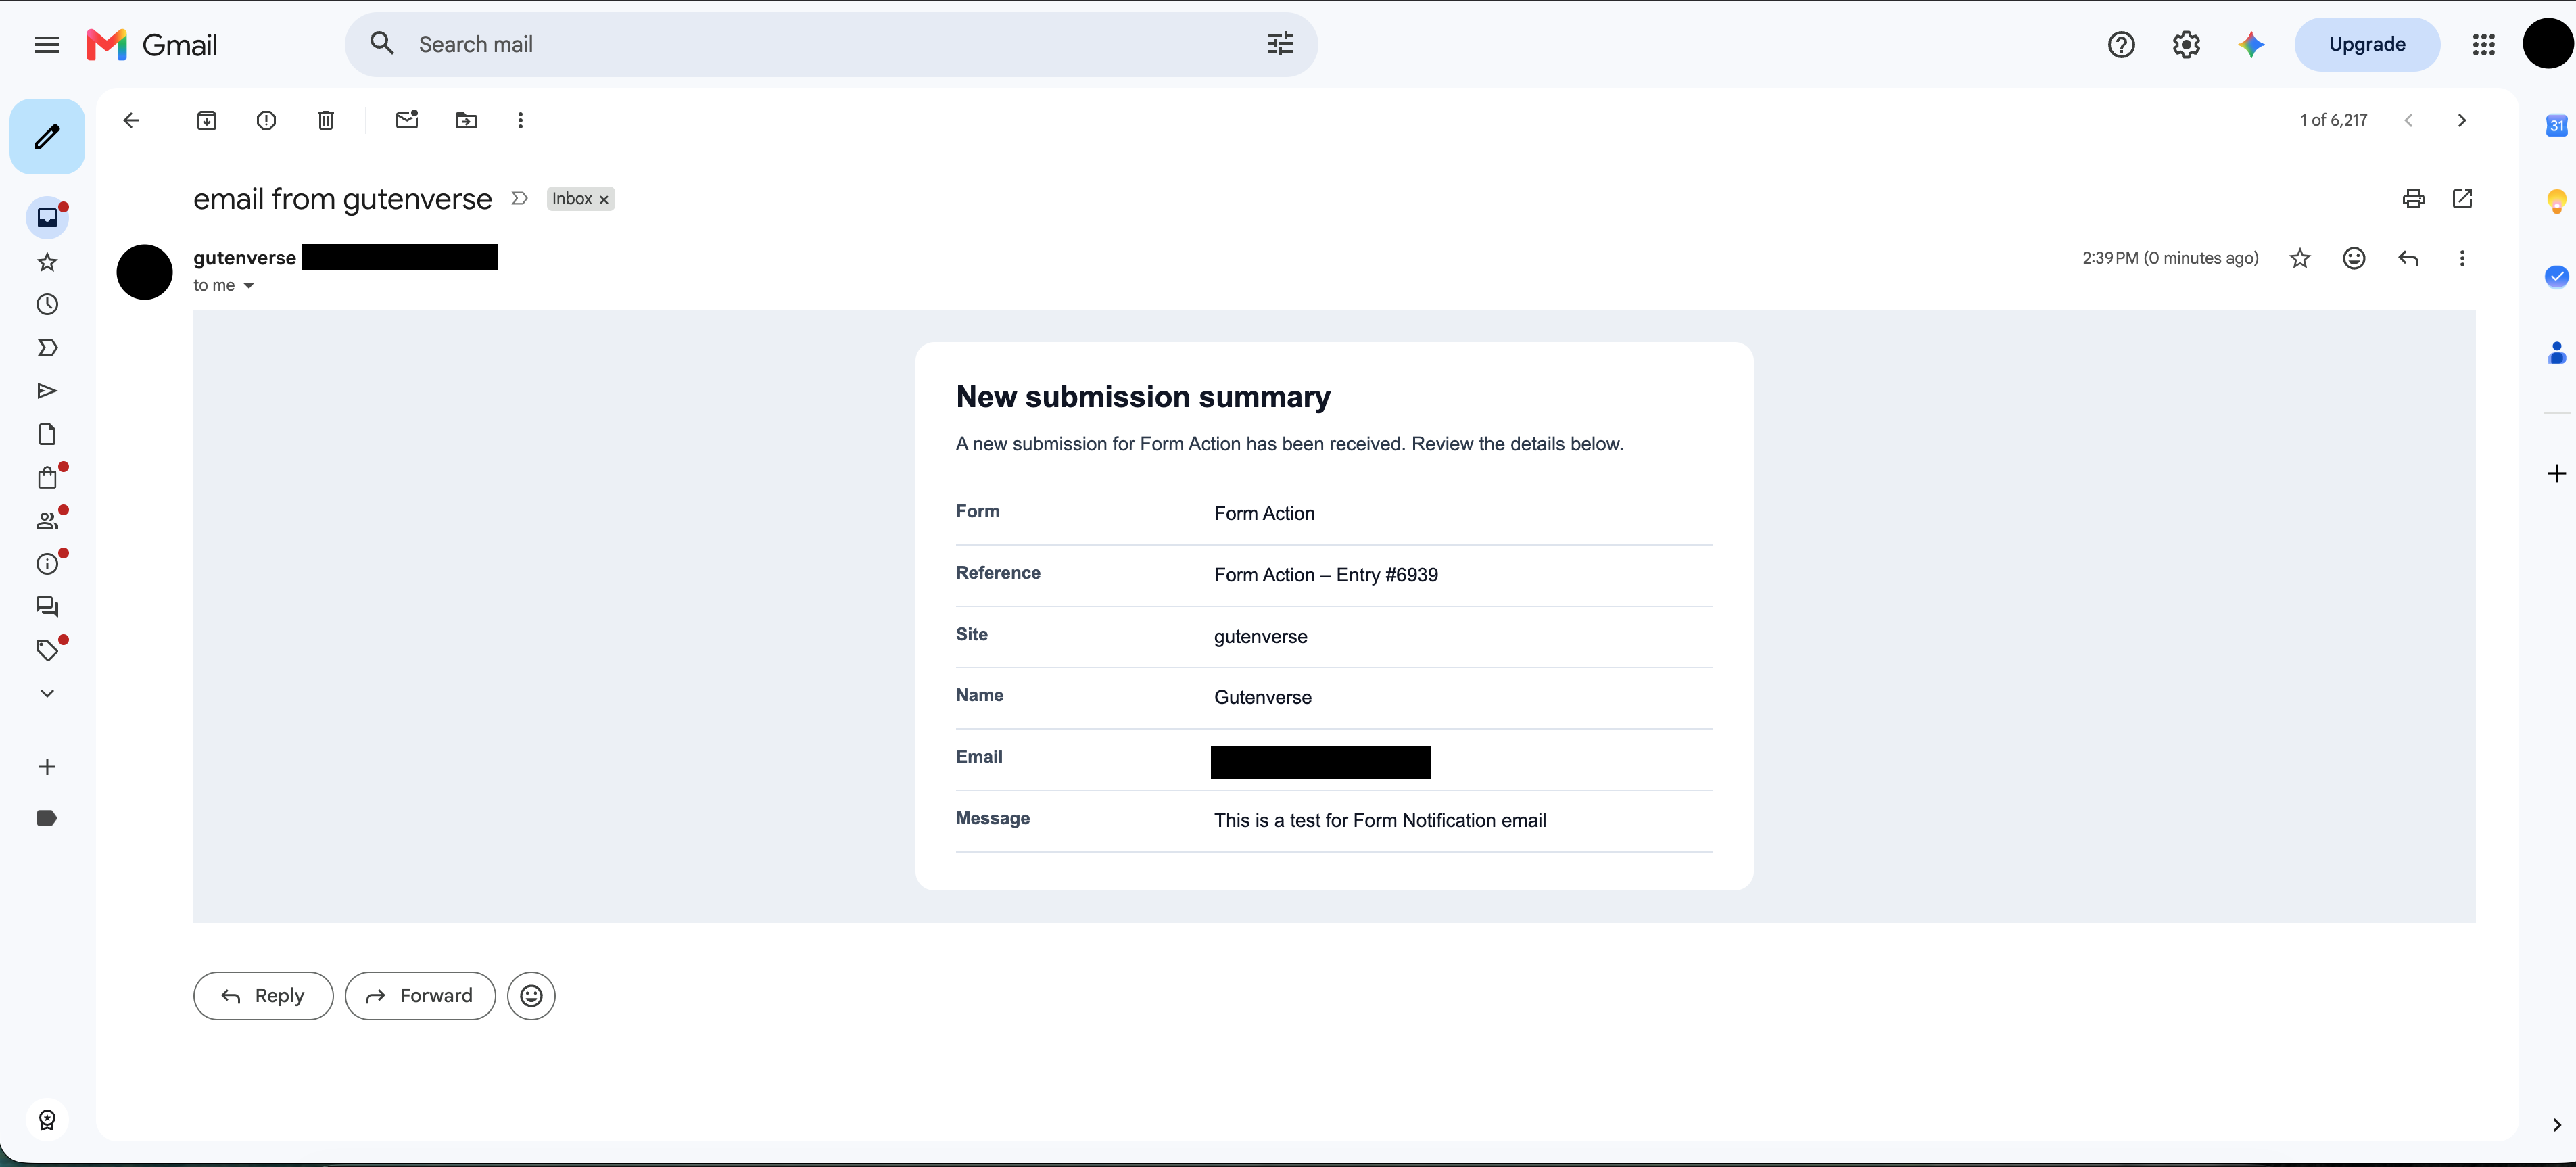
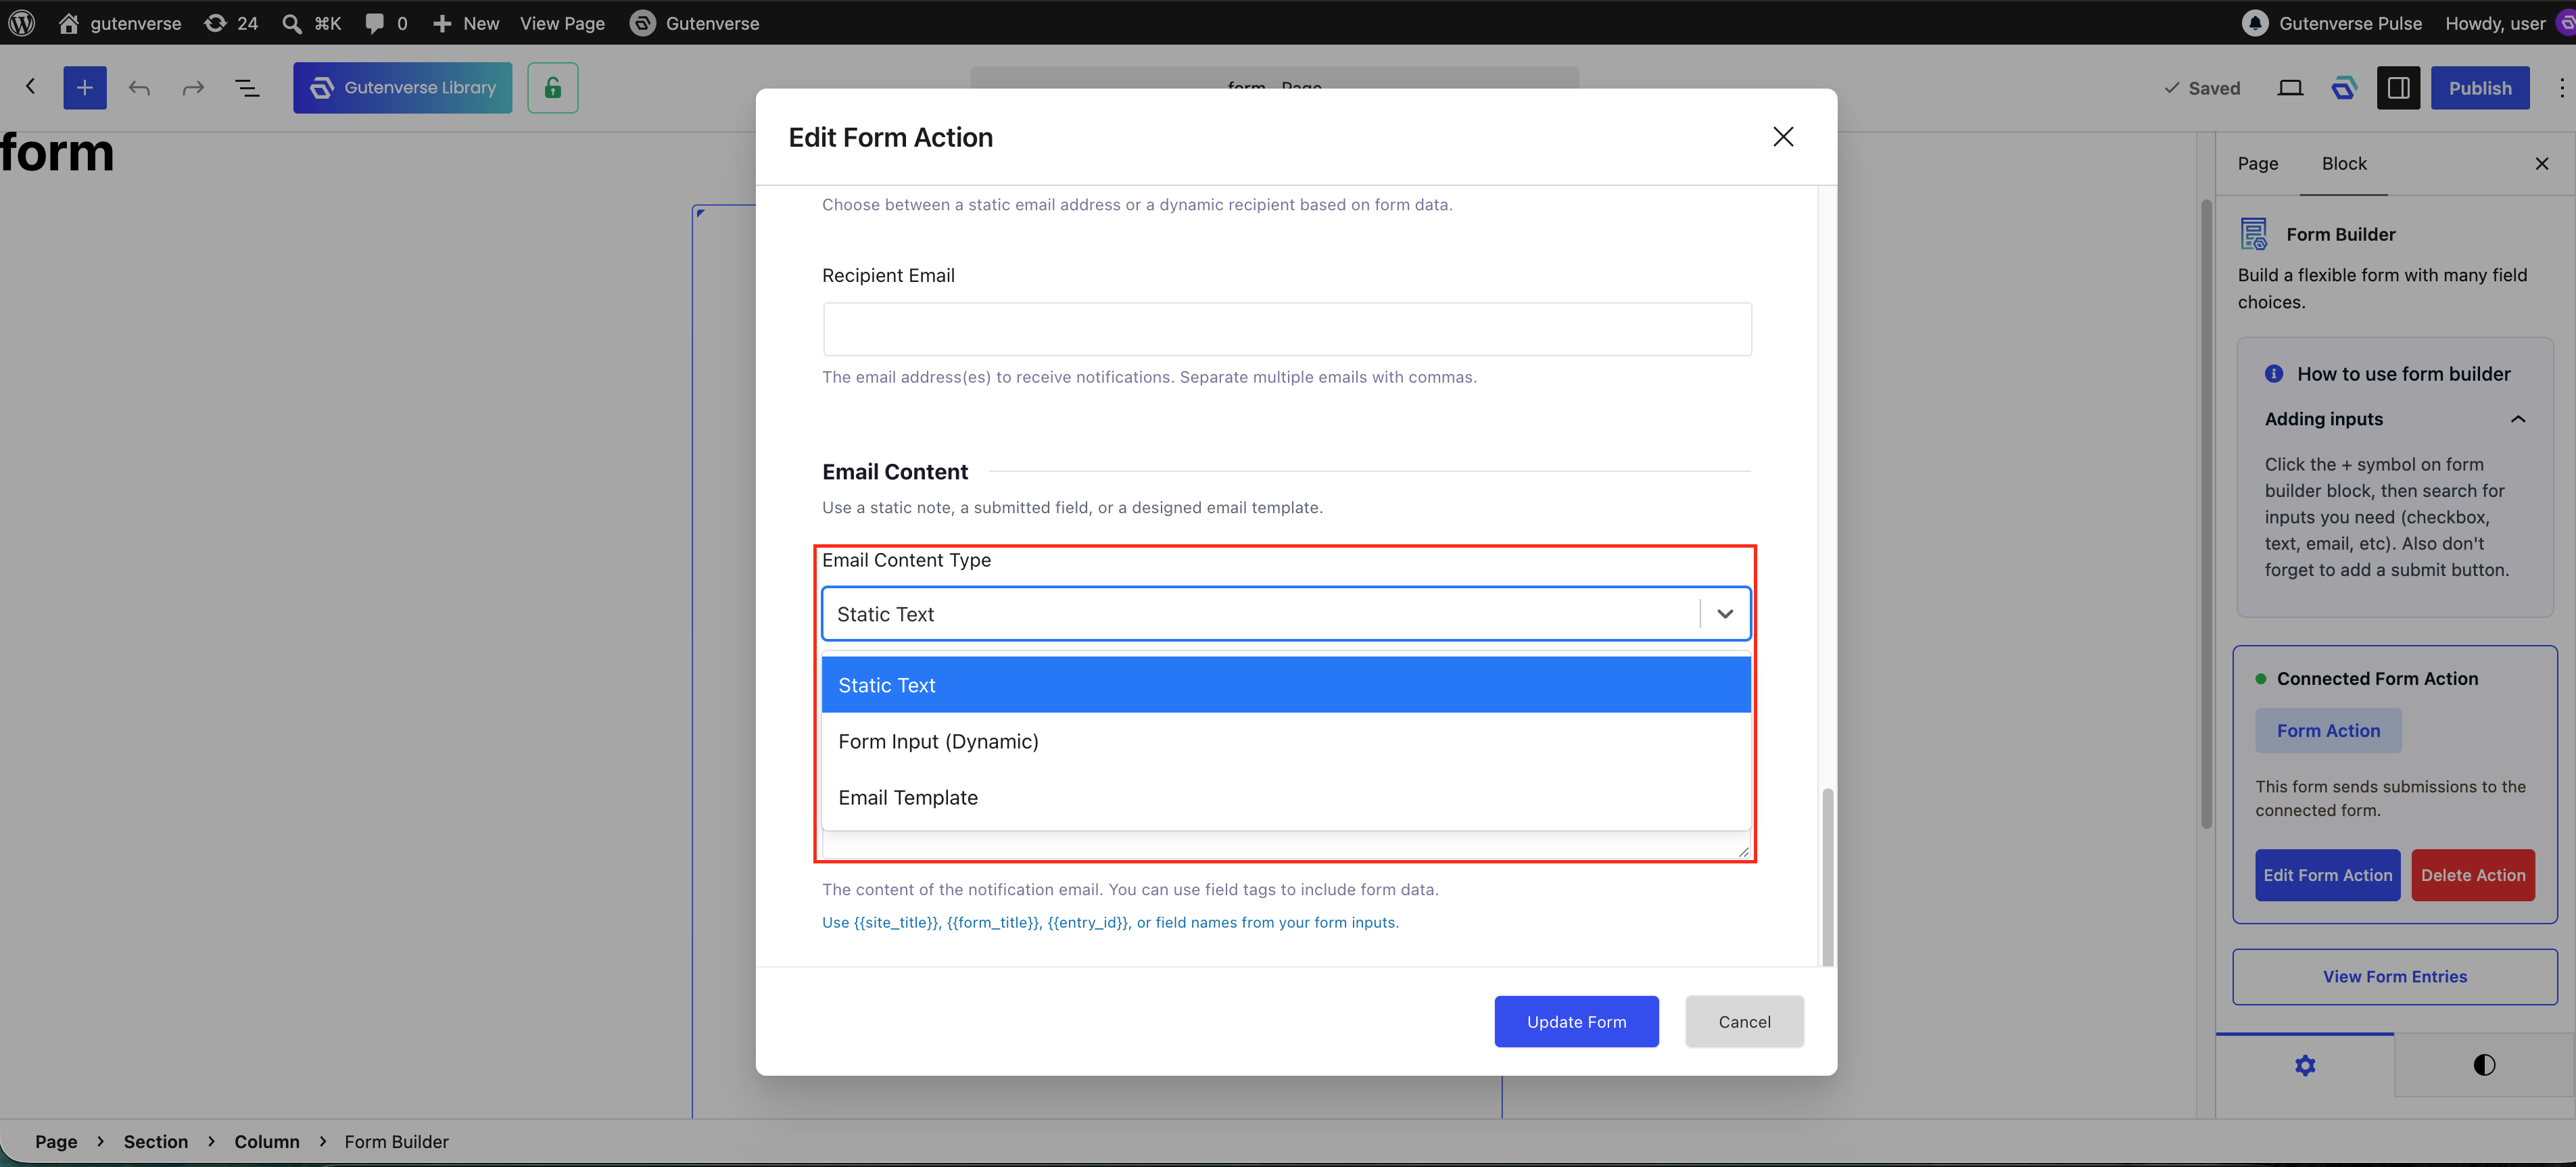
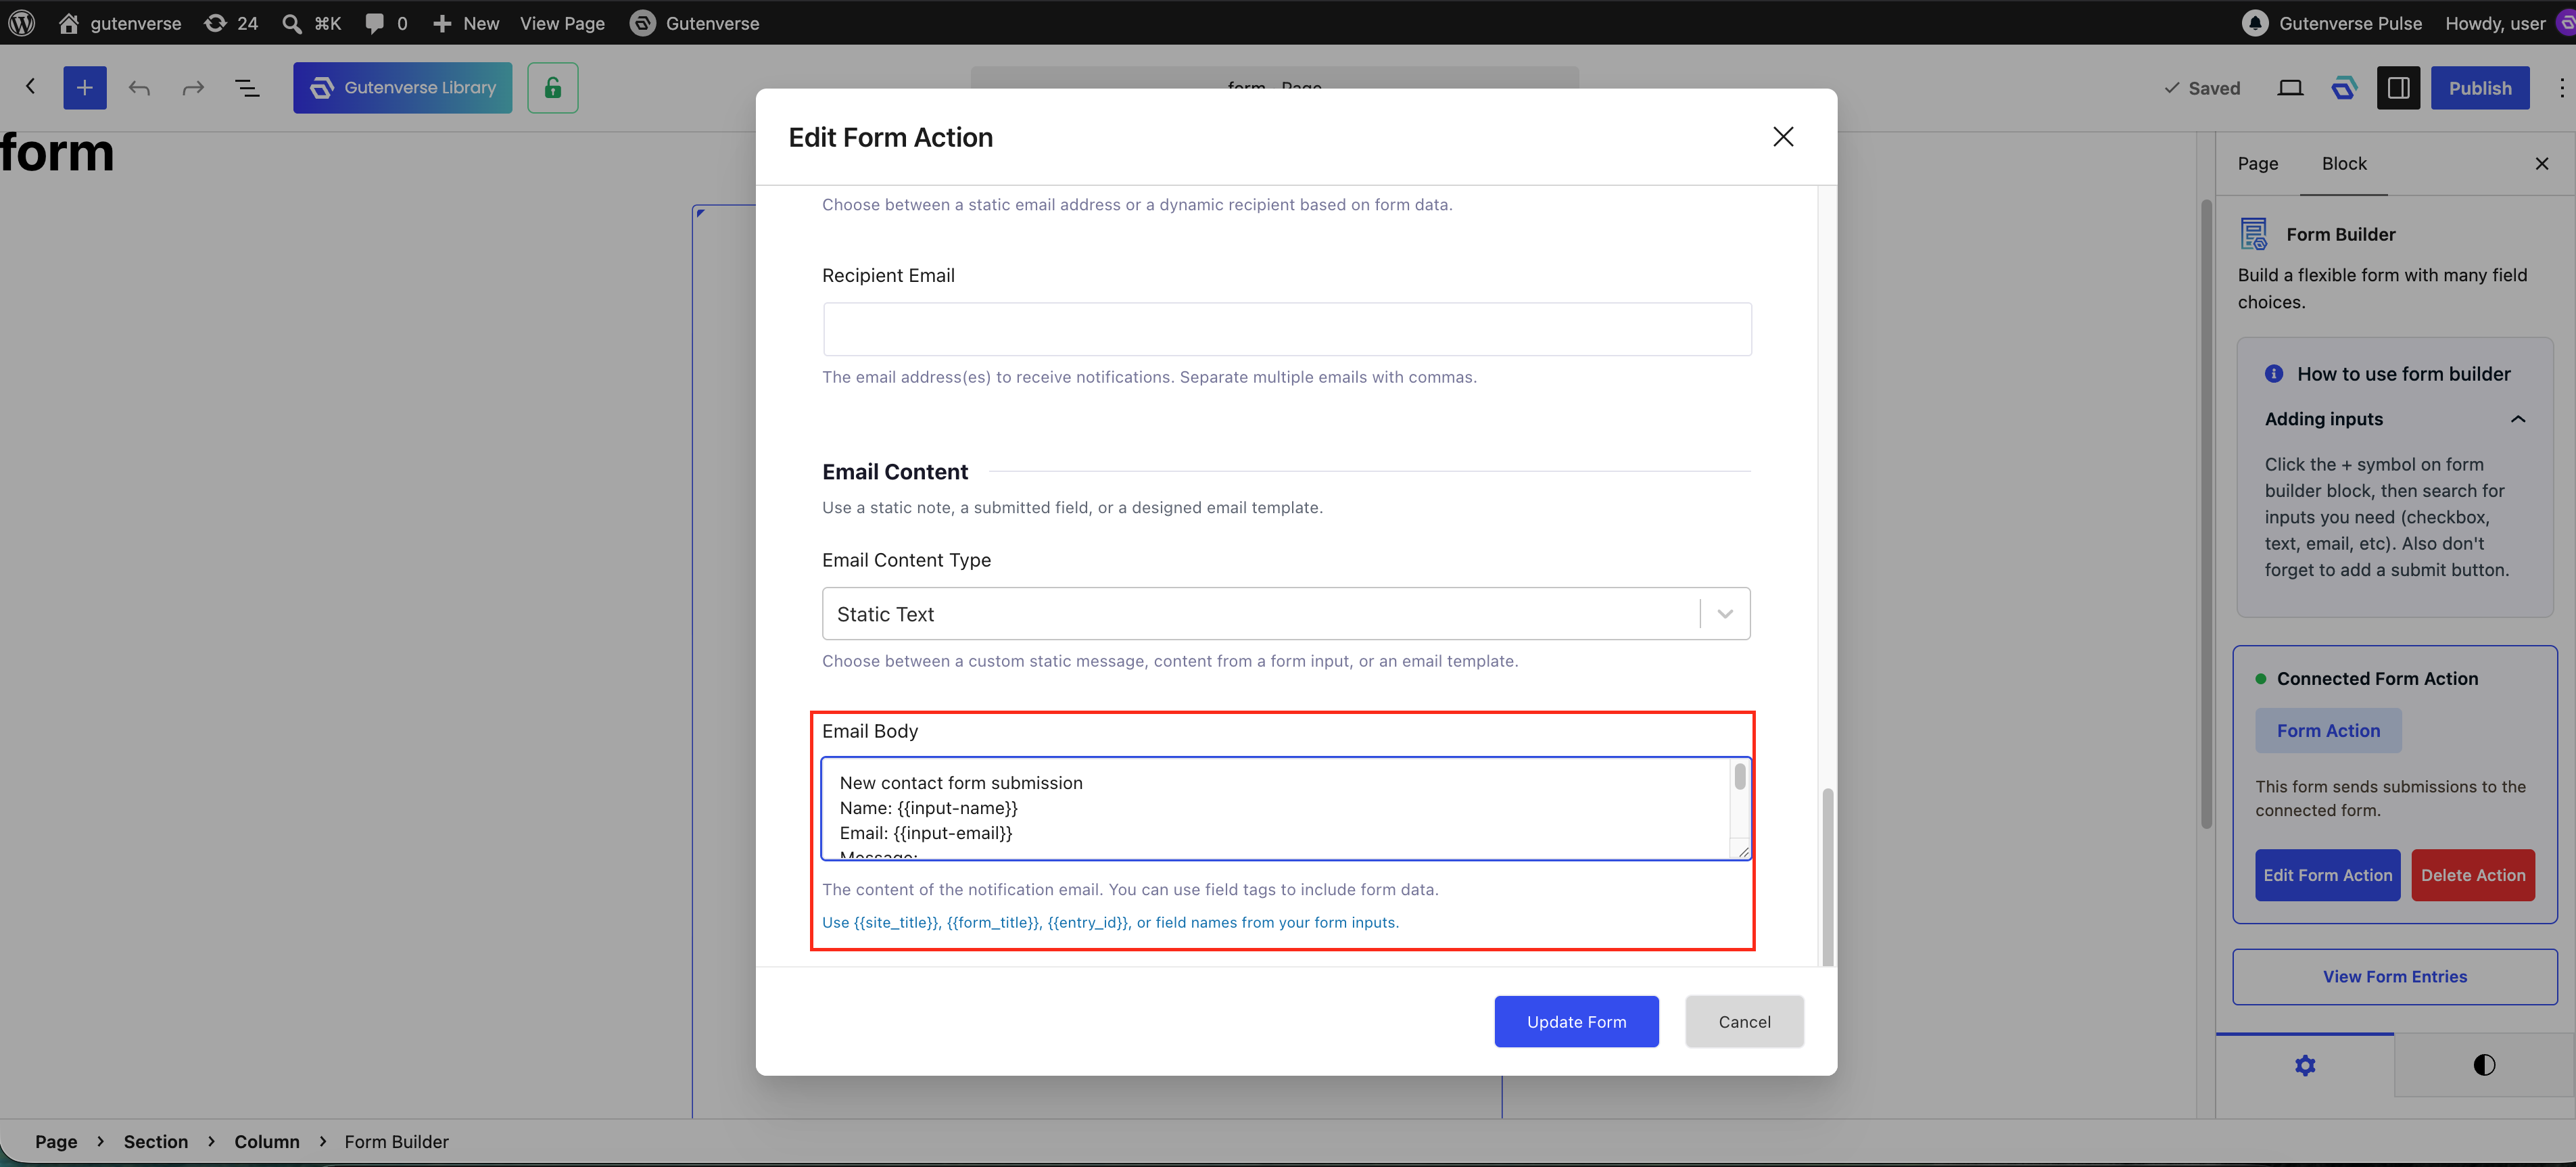
Set Email Content Type to Static Text, then write your custom message.
Example:
New contact form submission
Name: {{input-name}}
Email: {{input-email}}
Message:
{{input-message}}
Entry ID: {{entry_id}}
Form: {{form_title}}
When the admin receives the notification, clicking reply should reply to the visitor instead of the site sender address.
Use placeholders to insert submitted data into the email.
Common placeholders:
| Placeholder | Meaning |
| {{input-name}} | Submitted value from the field with Input ID name. |
| {{input-email}} | Submitted value from the field with Input ID email. |
| {{input-message}} | Submitted value from the field with Input ID message. |
| {{entry_id}} | Saved entry ID. |
| {{entry_title}} | Generated entry title. |
| {{form_title}} | Form Action title. |
| {{site_title}} | WordPress site title. |
Any field Input ID can be used as a placeholder. If a field ID is phone, use {{input-phone}}
Save the Form Action
1. Review the Notification settings.
2. Click Update Form or Save Form Action.
3. Save or update the page.
The Form Action must be saved after changing notification settings.
Test the Notification
1. Open the form on the front end.
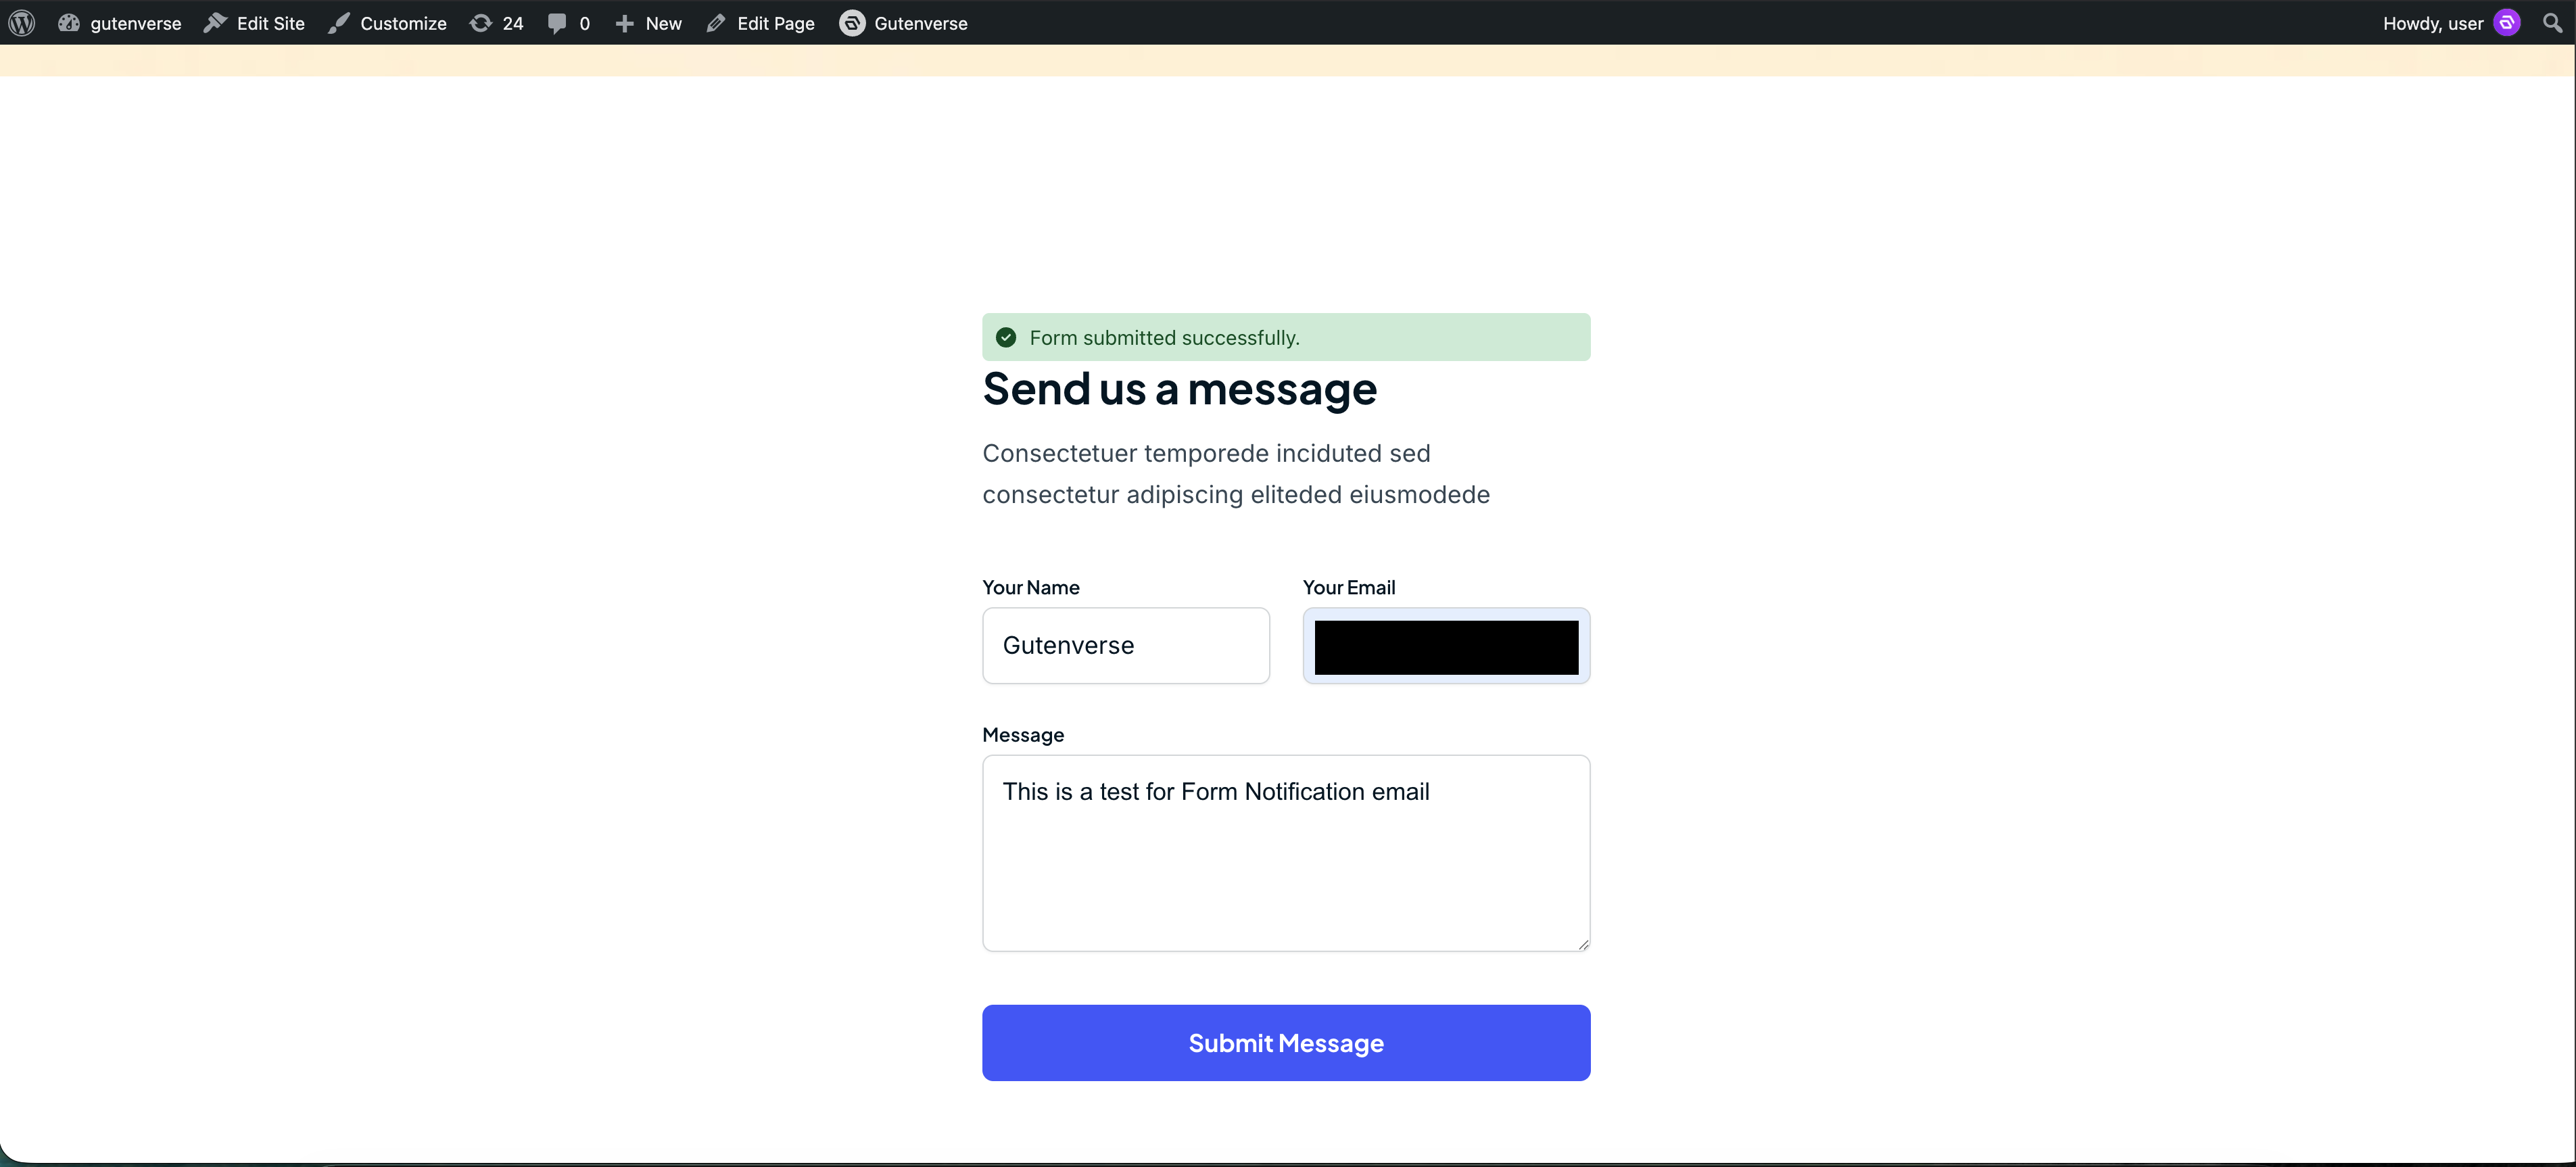
2. Submit a test message.
3. Go to Form > Entries.
4. Confirm the entry was saved.
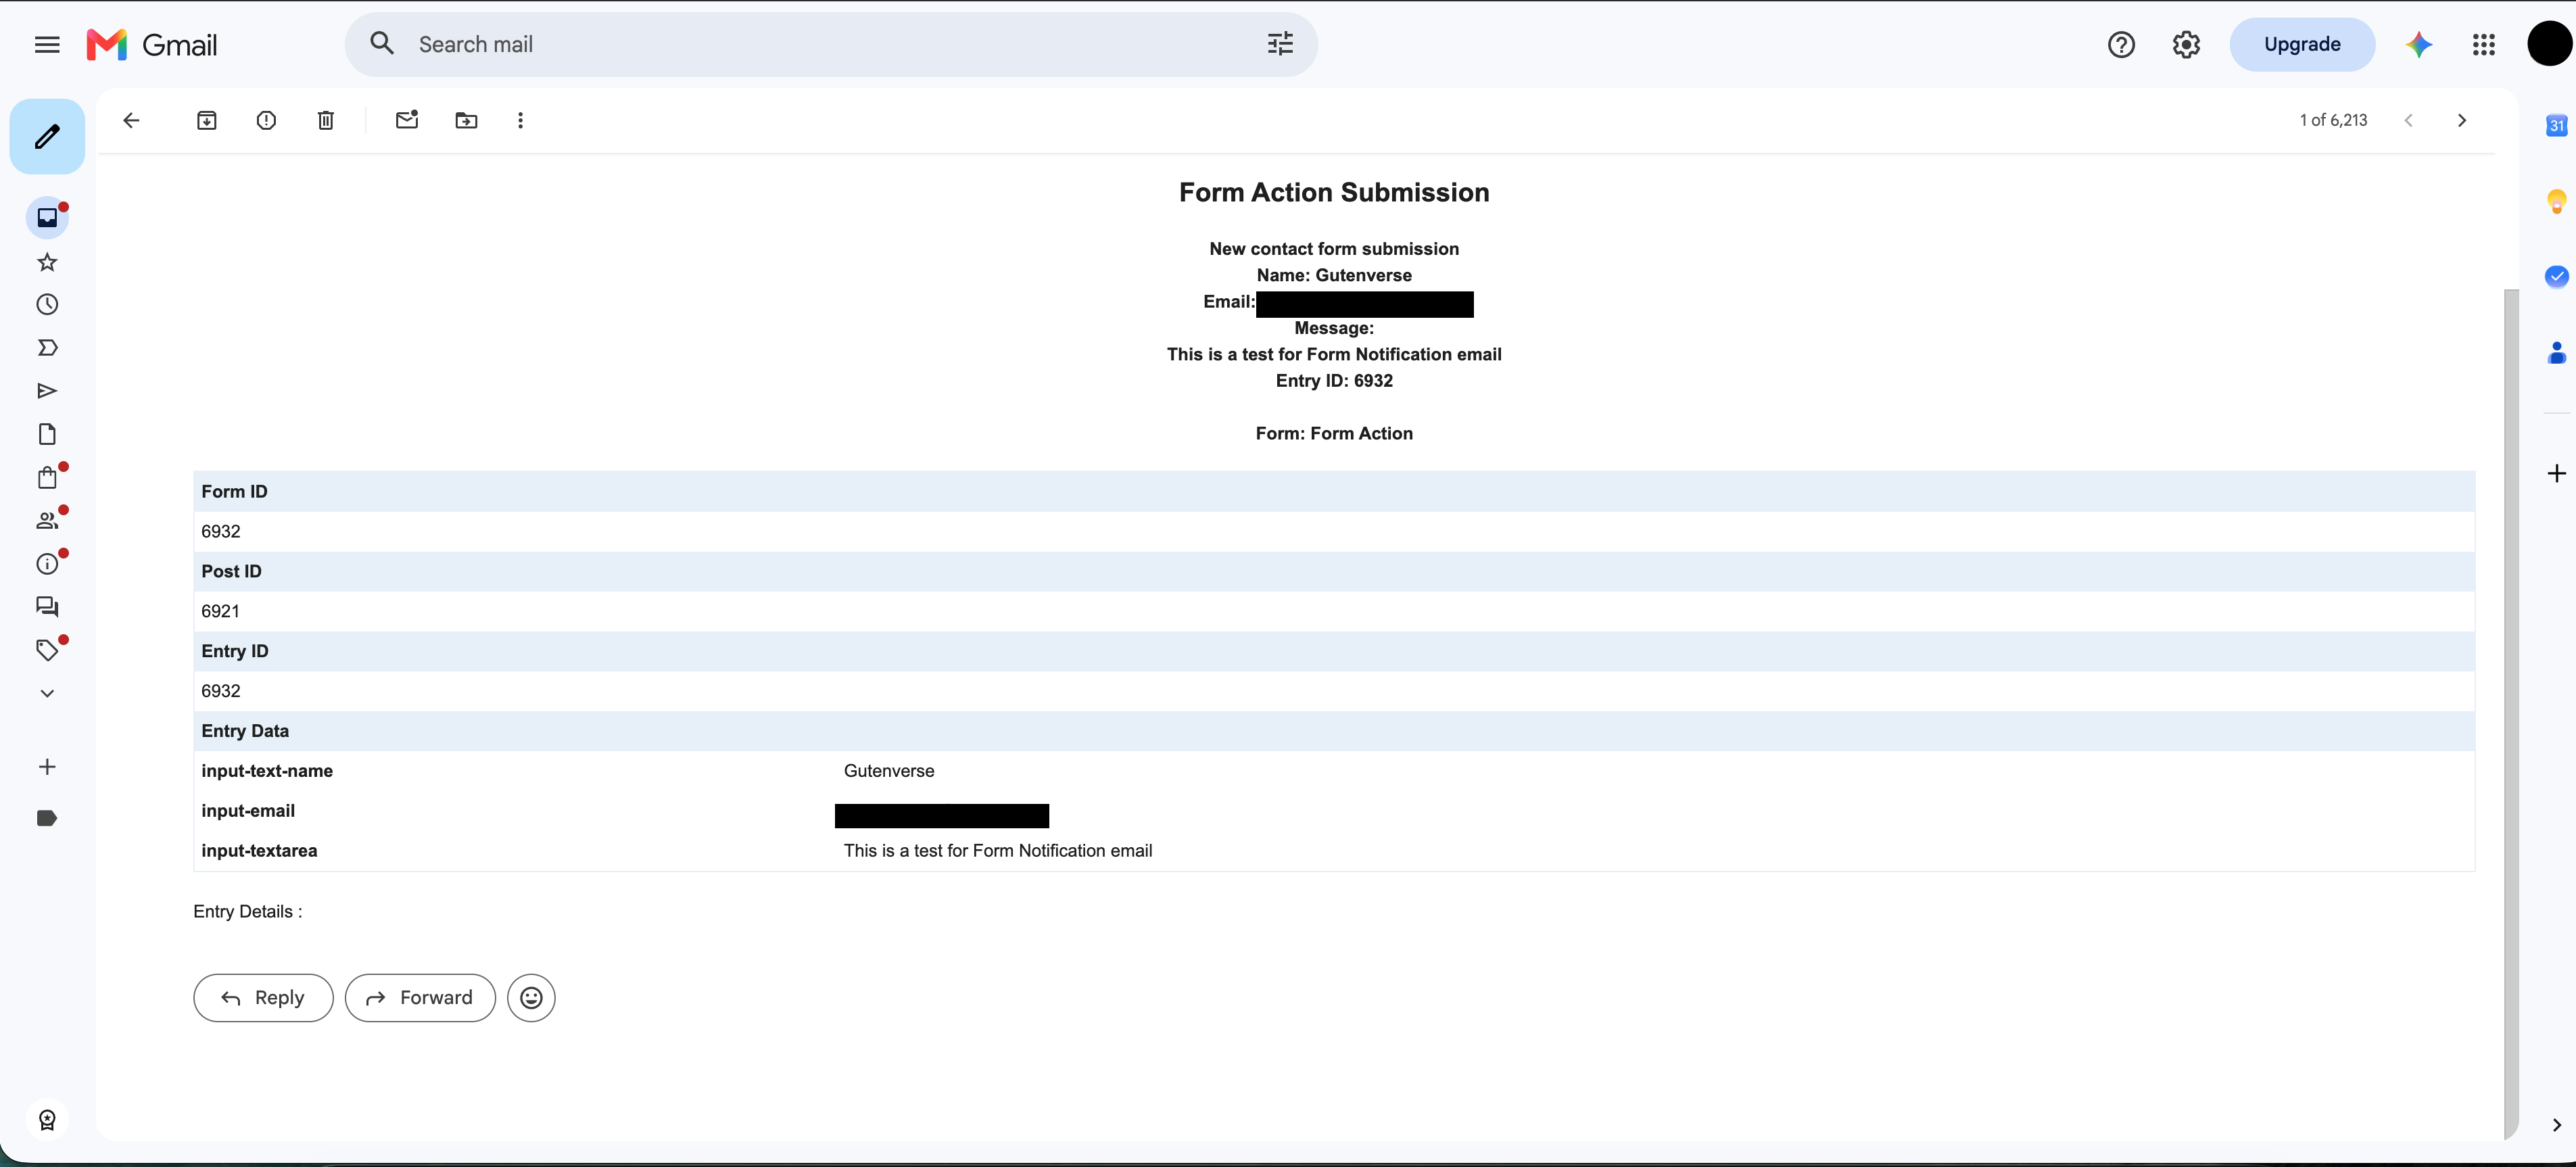
5. Check the recipient inbox.
6. Check spam or junk if the email does not arrive.
If the entry exists but the email does not arrive, the form submission worked. Focus on SMTP, sender address, recipient address, and mail delivery logs.
Optional: Use an Email Template
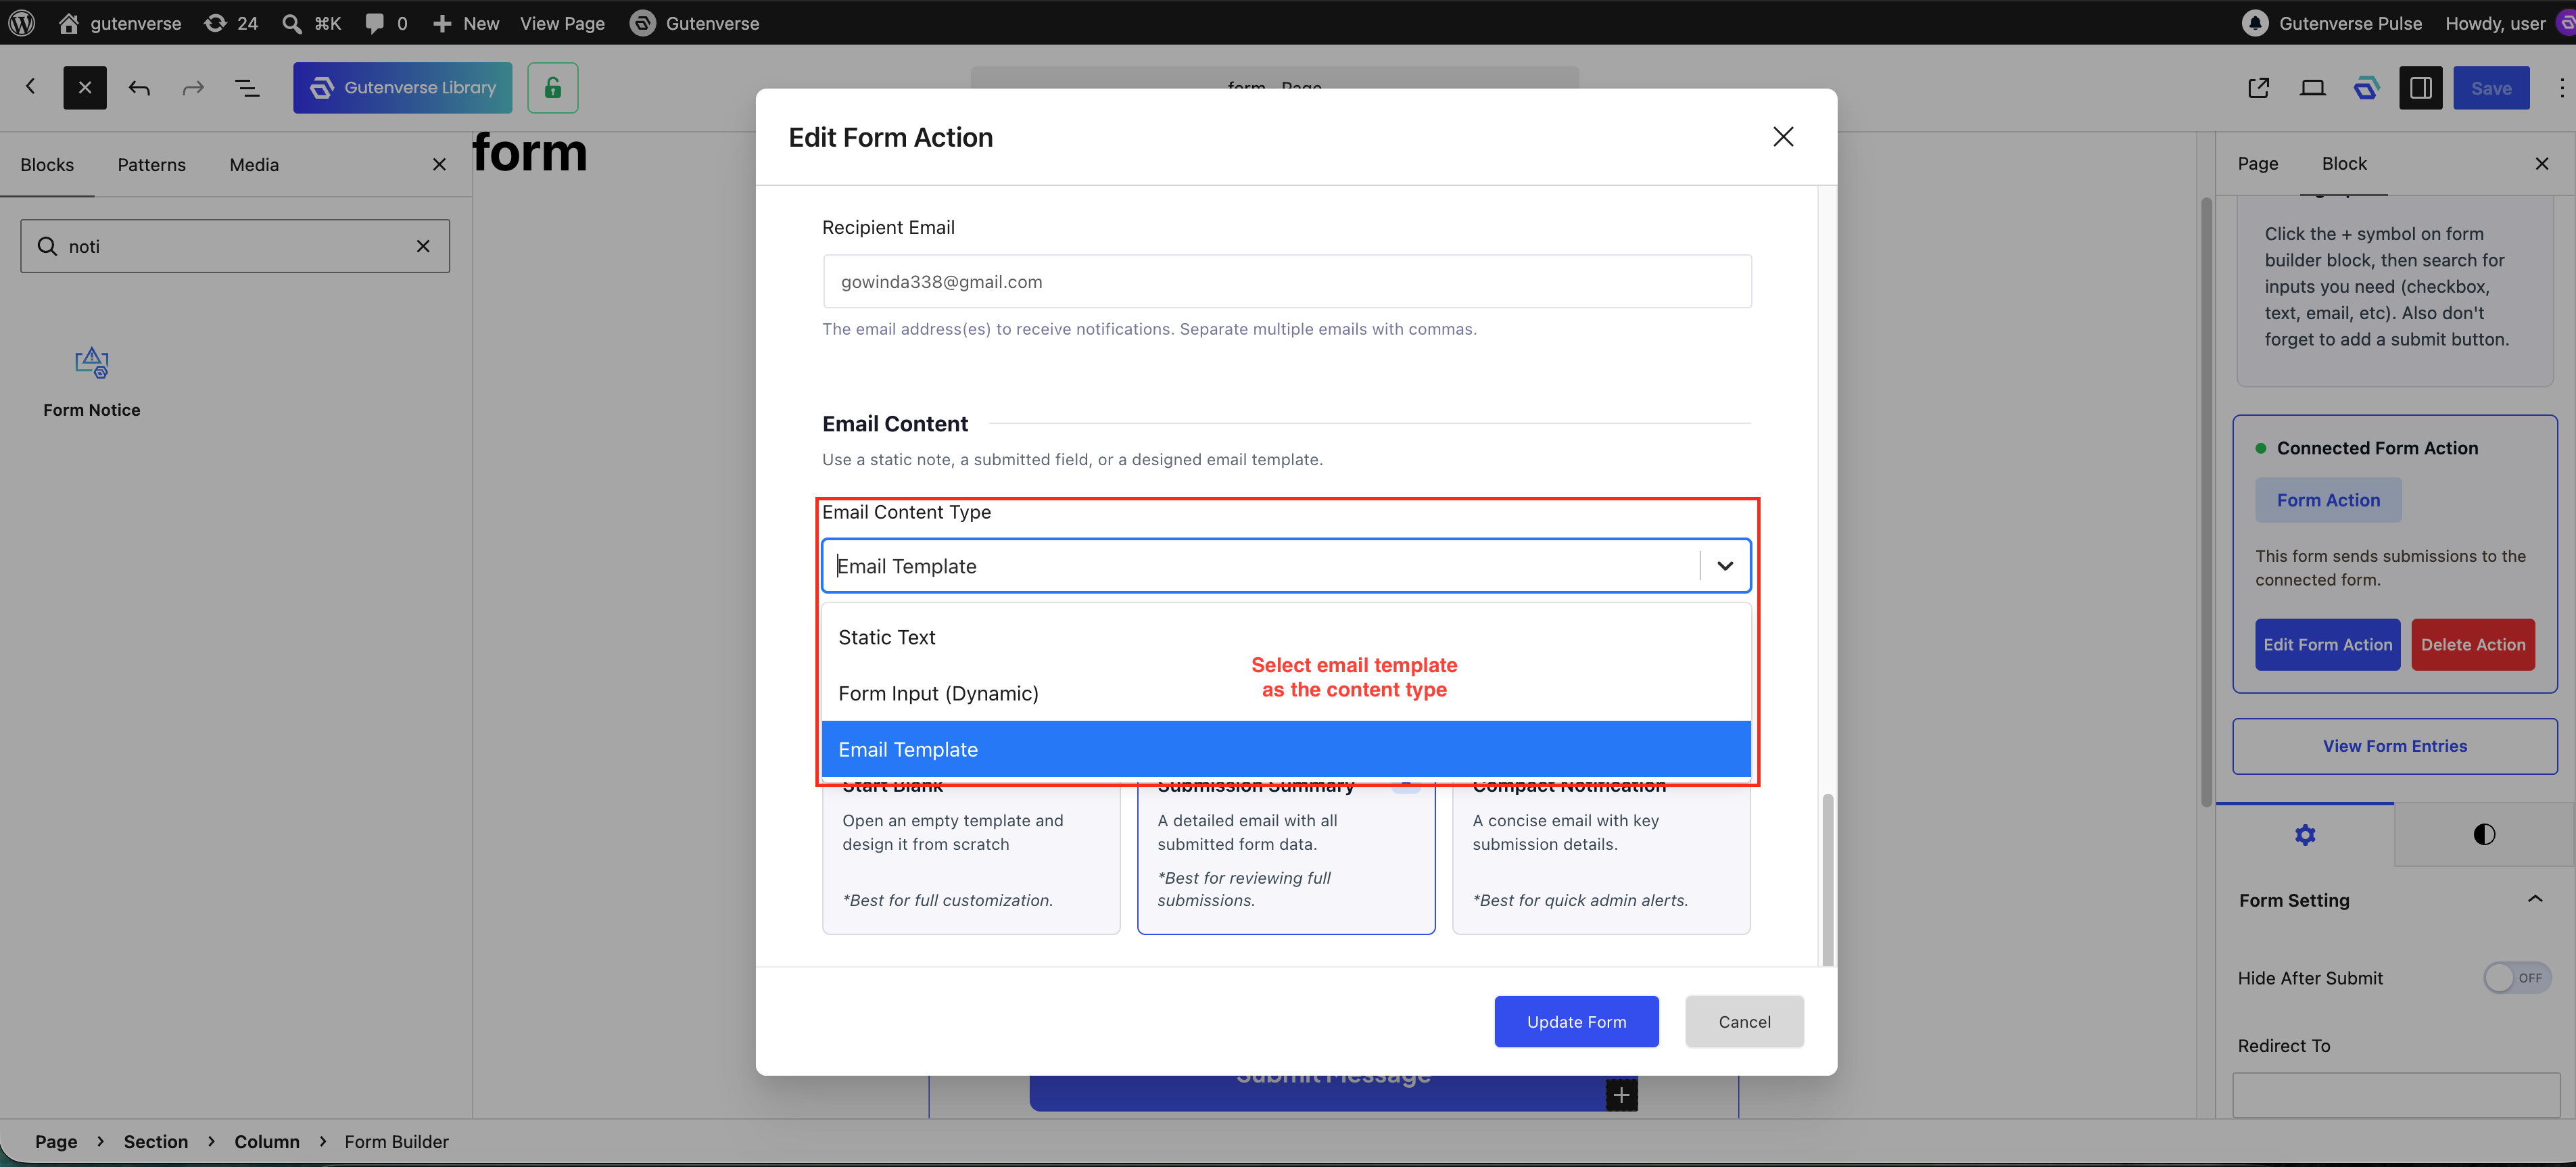
Use Email Template when you need a designed layout instead of a plain text-style message.
1. Edit the Form Action.
2. Open the Notification tab.
3. Set Email Content Type to Email Template.
4. Choose a starter template if no template is assigned yet.
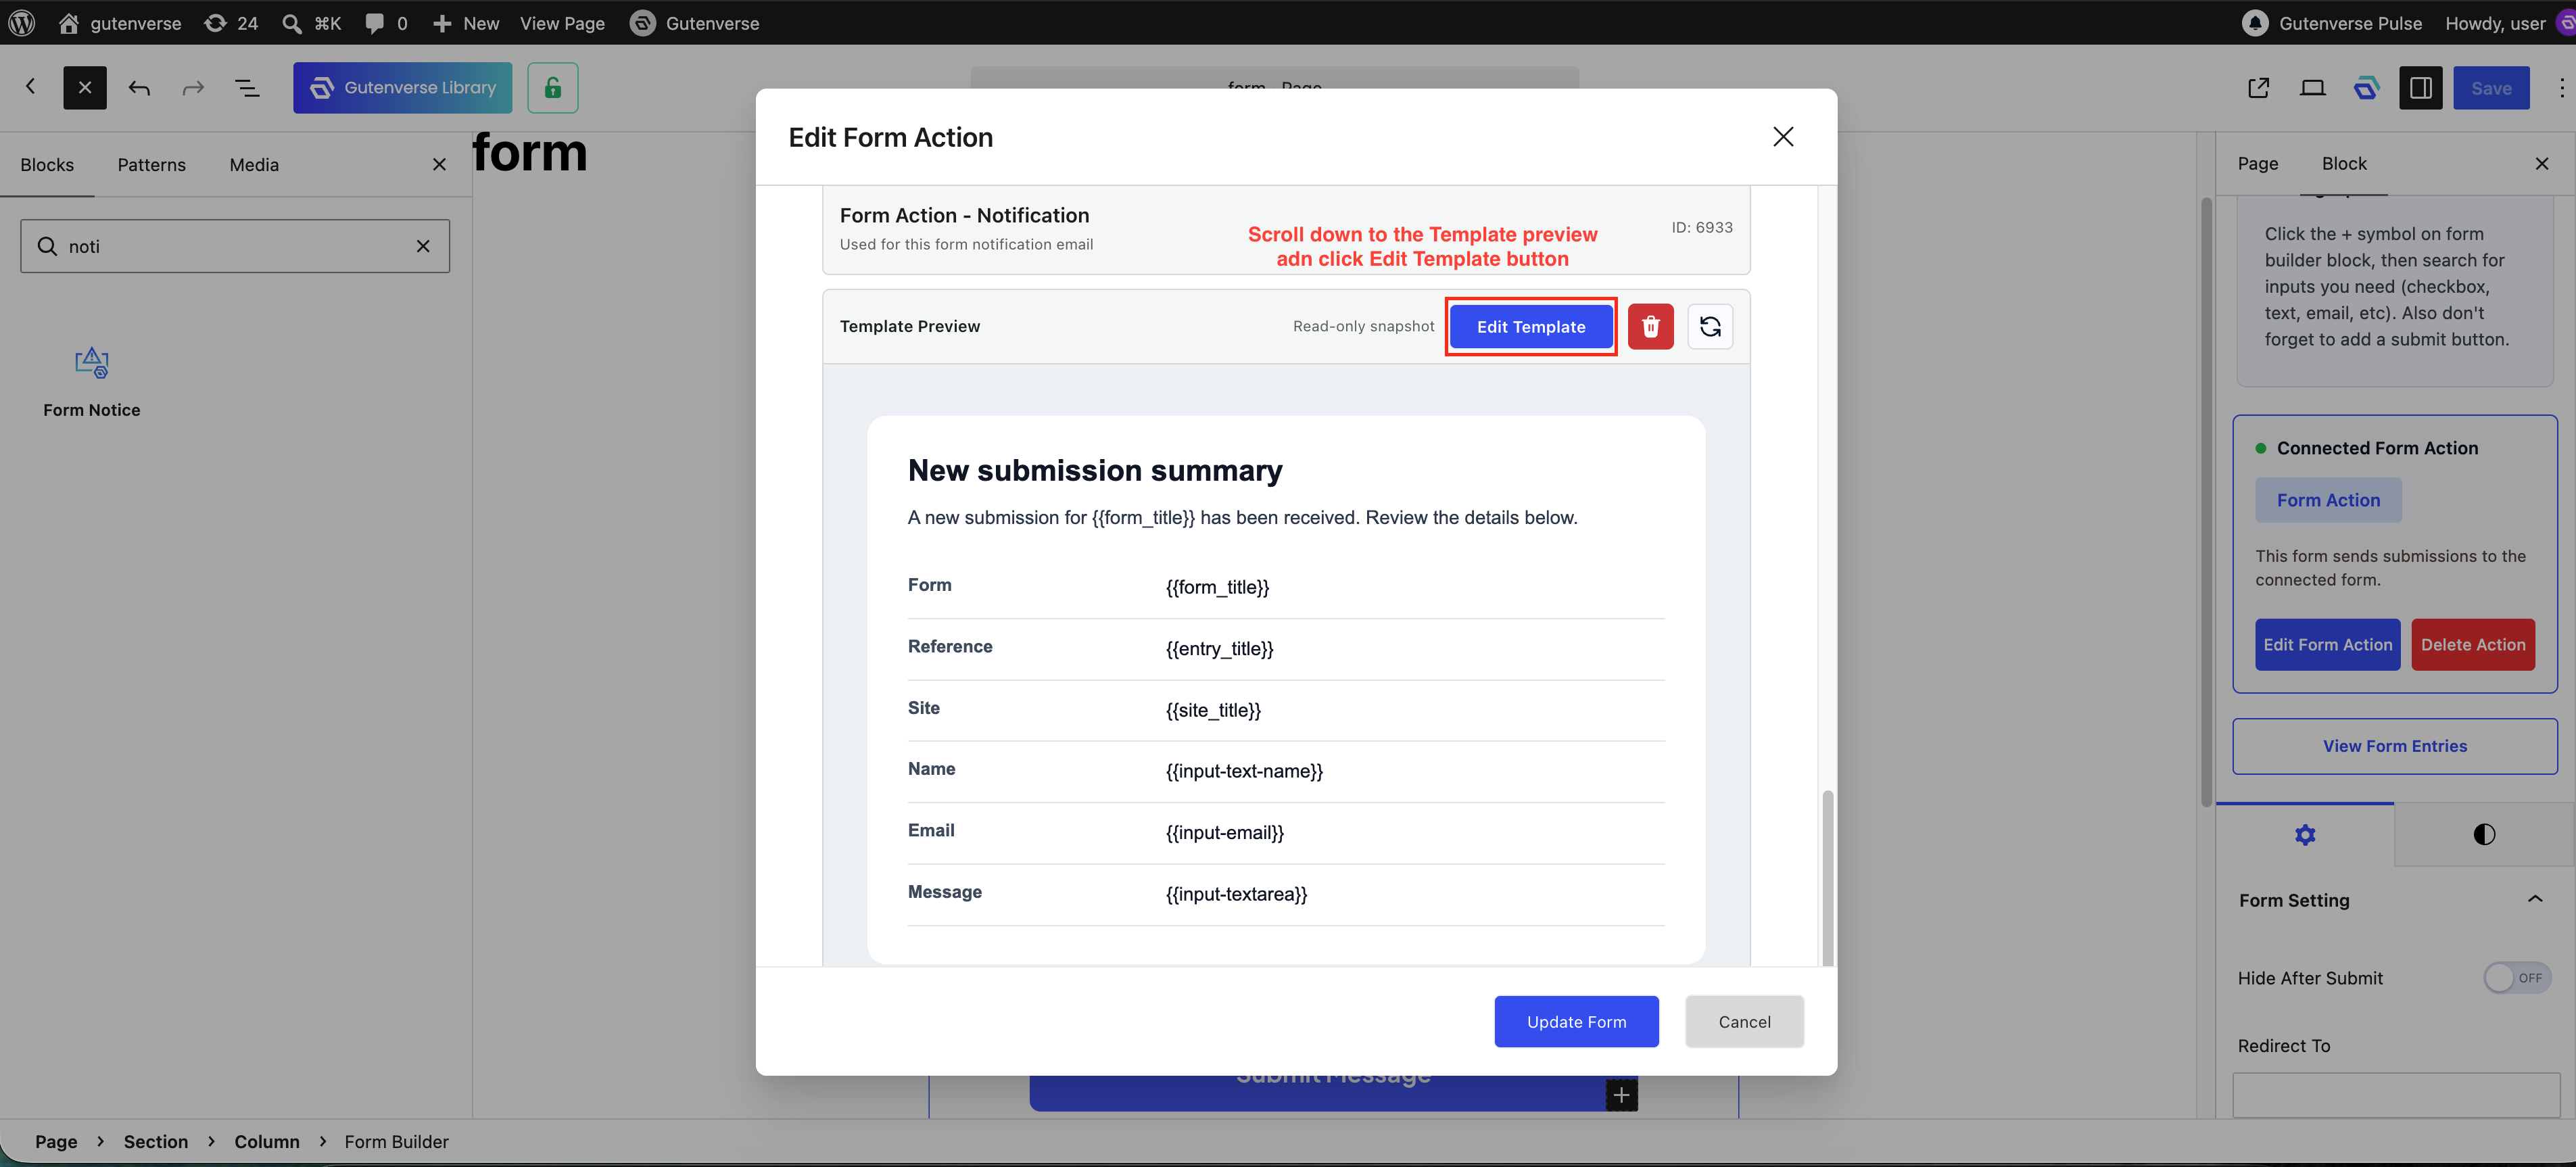
5. Click Edit Template.
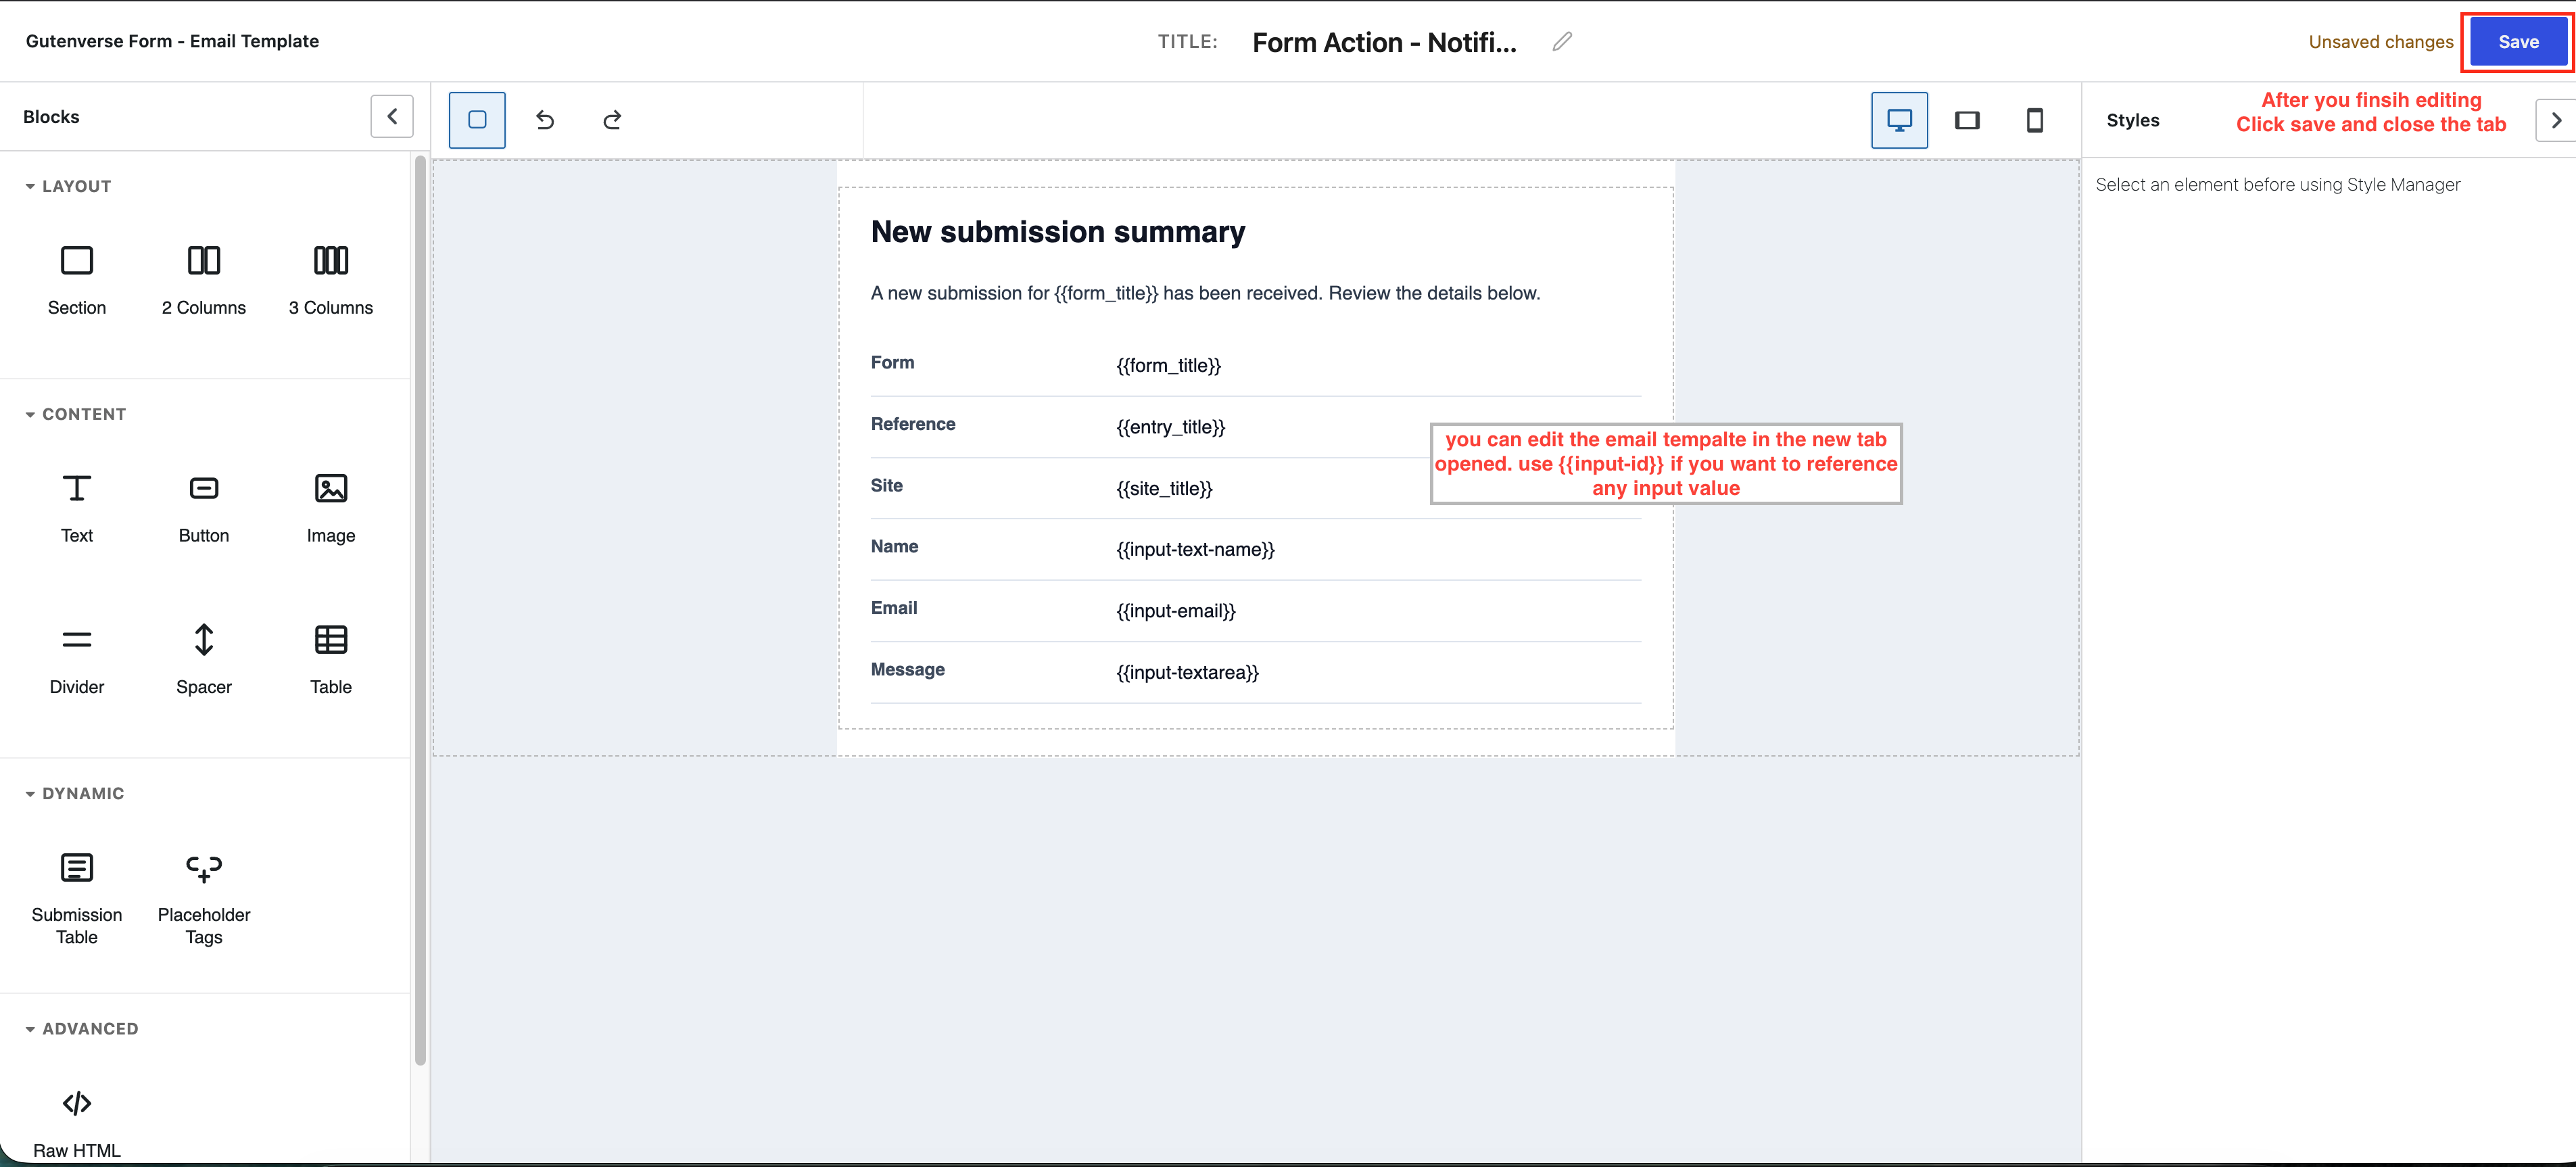
6. Design the notification email.
7. Save the template if saving is available on your site.
8. Return to the Form Action and save it.
If your site shows Upgrade to PRO or Activate License instead of Save, template saving is locked by the license state on that installation.