
Setting up a contact form on a WordPress site usually goes the same way. You install a form plugin, open its separate dashboard to build the form, copy a short code or widget, go back to the page editor, paste it in, and hope the styling matches everything else on the page.
If you have done this before, you probably know how repetitive it can be. You design the page in one place, then jump to another interface just to manage the form. Even small changes can turn into extra steps. If you want to adjust the form design, you have to leave the editor, update it inside the plugin settings, save it, return to the page, and check the result again.
There is a more straightforward way to do this, especially if you are already building your site with the block editor. You can add a contact form as a block, right on the page, and handle everything including the fields, the styling, and the notification settings without switching tools at all.
In this guide, you will learn how to set up a contact form in WordPress step by step using the block editor.
Why Build a Contact Form Inside the Block Editor?
Most people don’t think twice about installing a separate form plugin. It’s just what you do. But once you are used to building pages with blocks, going back to a separate dashboard for one form starts to feel like extra work.
Here are a few reasons why building your form inside the block editor is worth it:
What You Need Before You Start
Before getting started, make sure you have these three things set up:
The first two are quick installs from your WordPress dashboard. The third one deserves a short explanation because it comes up every time someone sets up a contact form on WordPress.
By default, WordPress sends emails through its own basic mail system. The problem is that most email providers, like Gmail and Outlook, don’t fully trust emails sent this way. As a result, your form submissions might end up in spam, or sometimes not arrive at all. This has nothing to do with which form tool you use, it’s just the way WordPress handles email.
Using SMTP solves this. It connects your website to a proper email service, such as Gmail, Outlook, or your hosting provider’s mail server. Once it’s set up, your form notifications are sent through that service, which makes them much more likely to reach the inbox.
Step 1: Install Gutenverse Form
Gutenverse Form is the plugin that adds the Form Builder block to your editor. It’s free and available directly from WordPress.org, so you can install it without leaving your dashboard.
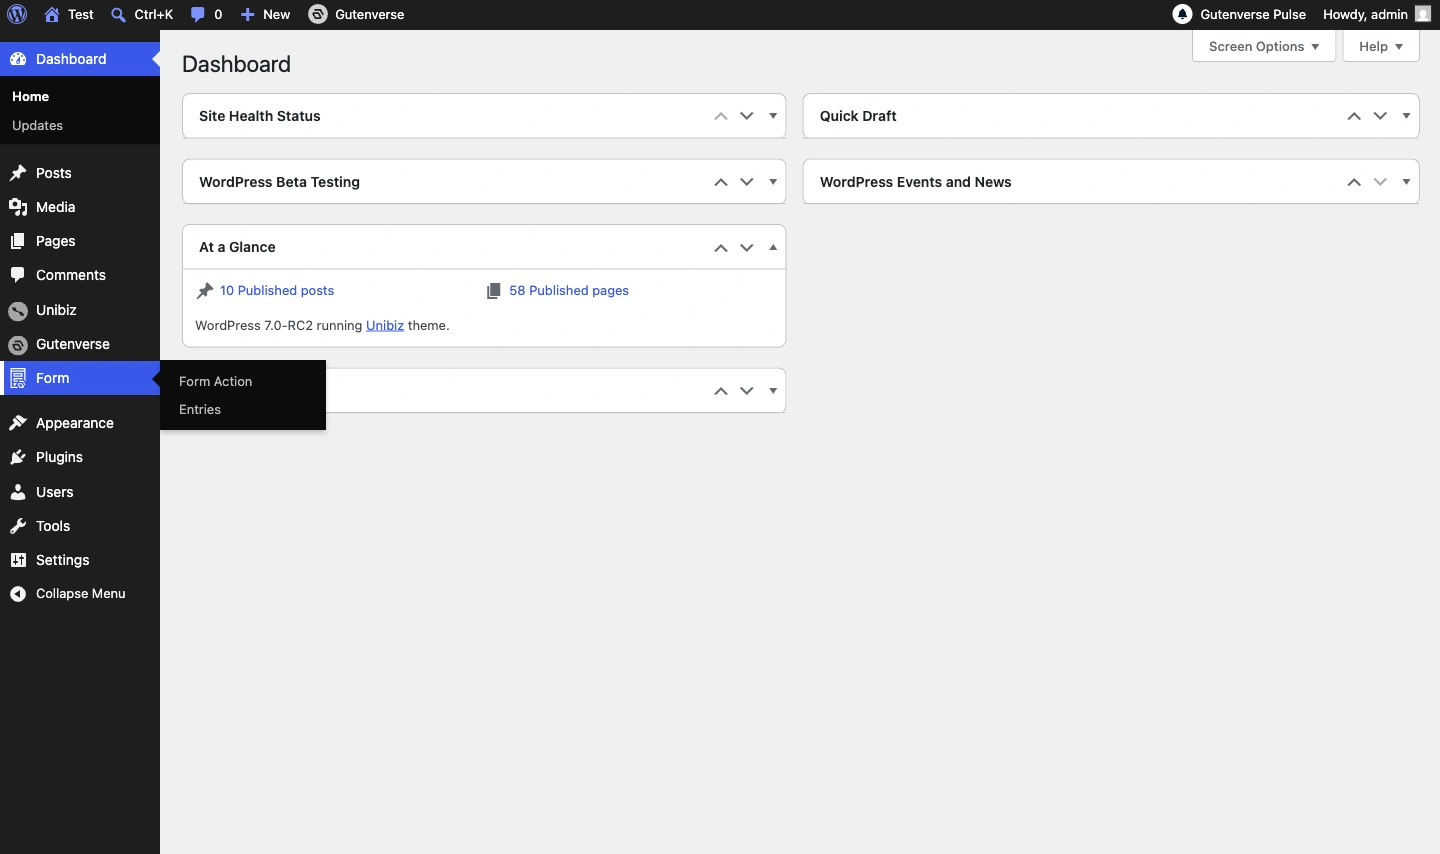
Once it is active, two things will appear: a Form menu in your left admin sidebar, and a Form Builder block available in the block inserter inside the editor.
Step 2: Add the Form Builder to Your Contact Page
Go to the page where you want the contact form to appear. If you do not have a contact page yet, go to Pages > Add New and create one.
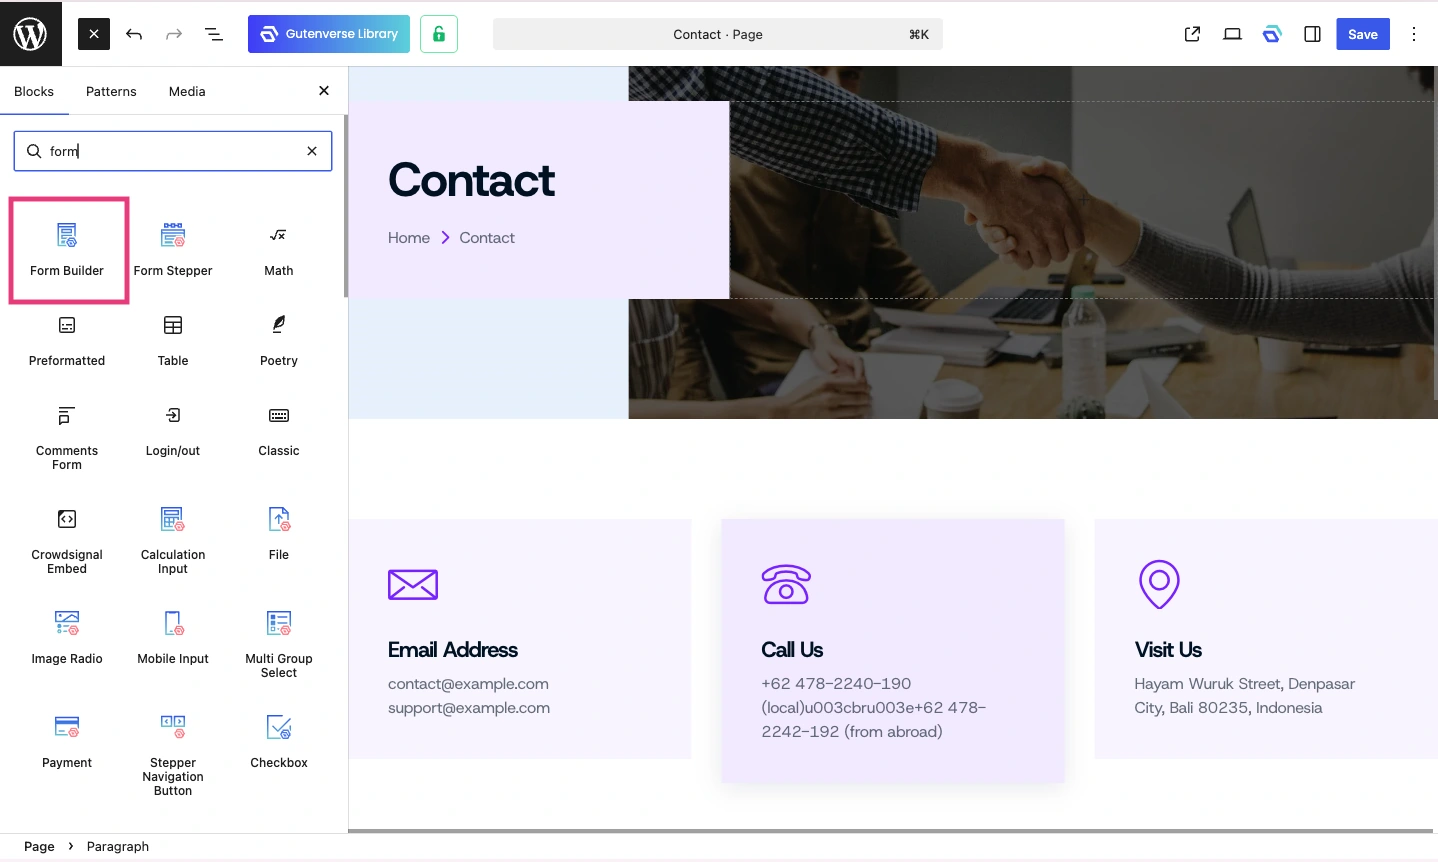
Once you are in the block editor:
For a basic contact form, you may add four things inside the Form Builder:
Once your fields are in place, you can style each one from the block settings panel. You can change the font, colors, border, corner radius, and spacing. The form updates as you make changes, so you always see exactly how it looks in real time. There is no need to publish and preview separately.
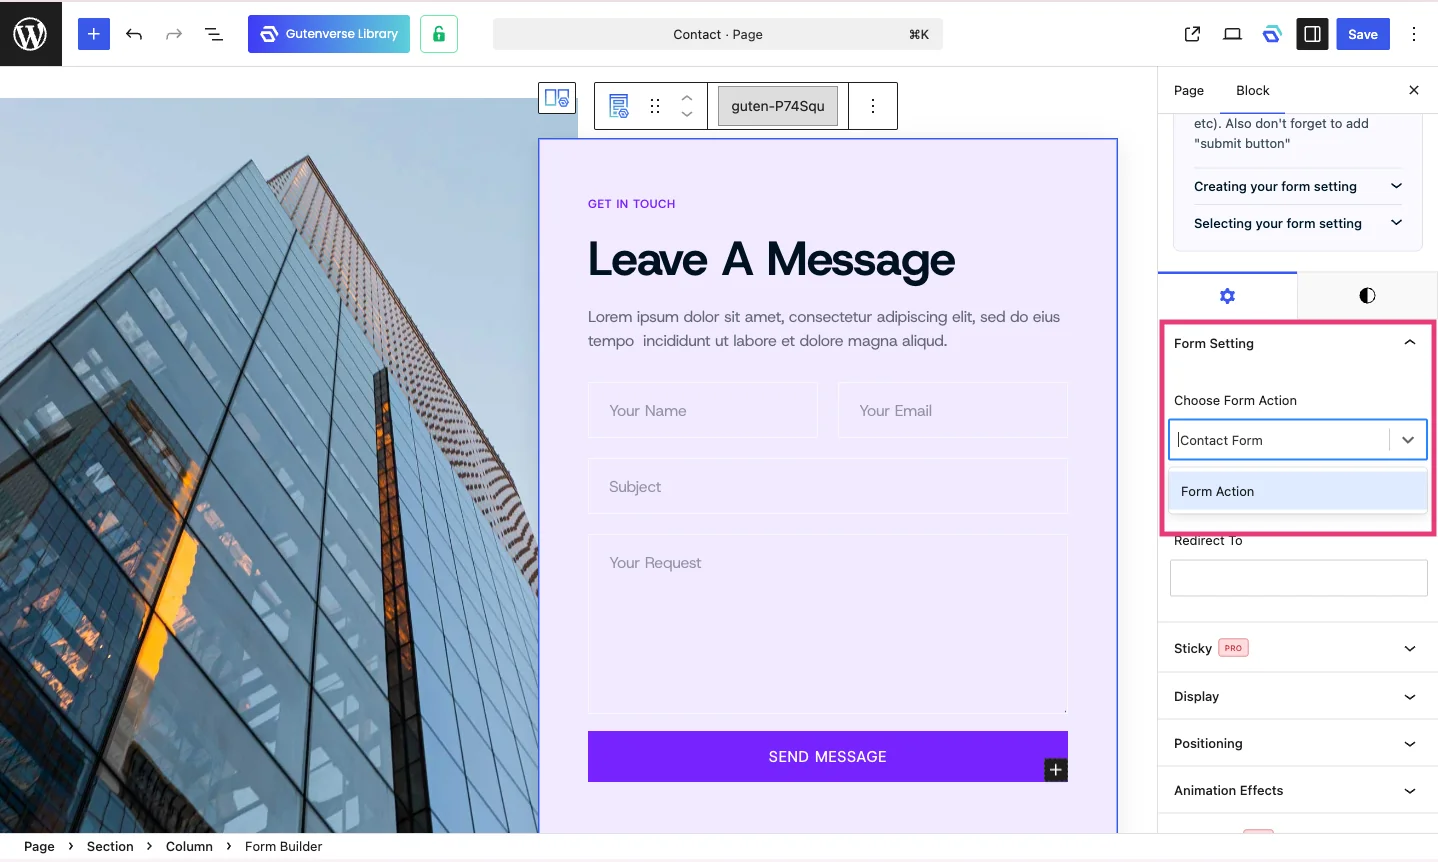
Step 3: Command WordPress What to Do When Someone Submits
The form itself handles the front end. Now, you need to set up what happens on the back end when a visitor hits the submit button. In Gutenverse Form, this is done through a Form Action.
A Form Action is basically a set of rules that tells WordPress what to do after a form is submitted. You only need to create it once, then connect it to your form. Here’s how to set it up:
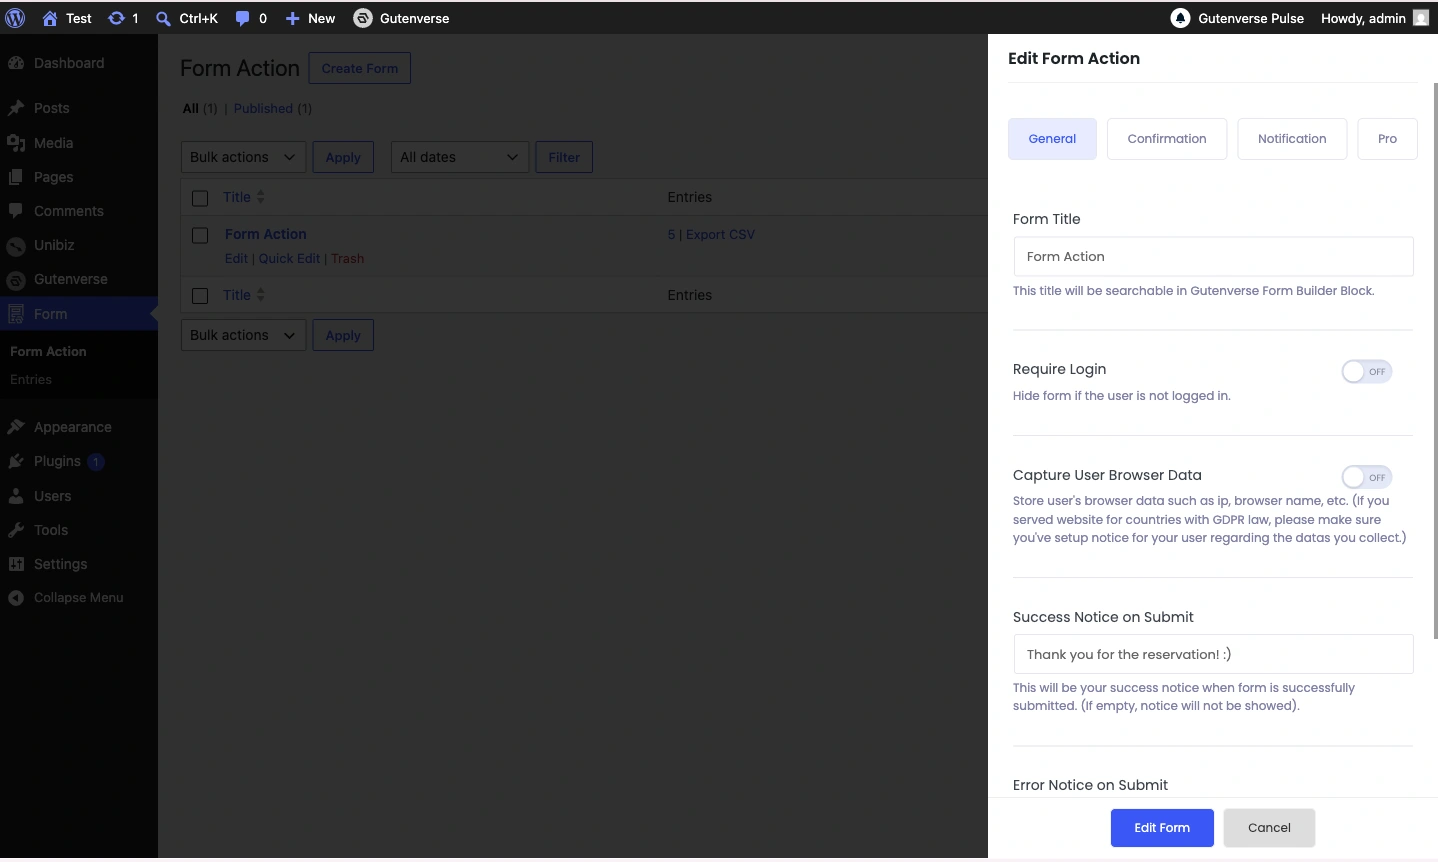
Give the form action a name so you can identify it later. Then write two messages:
Confirmation tab
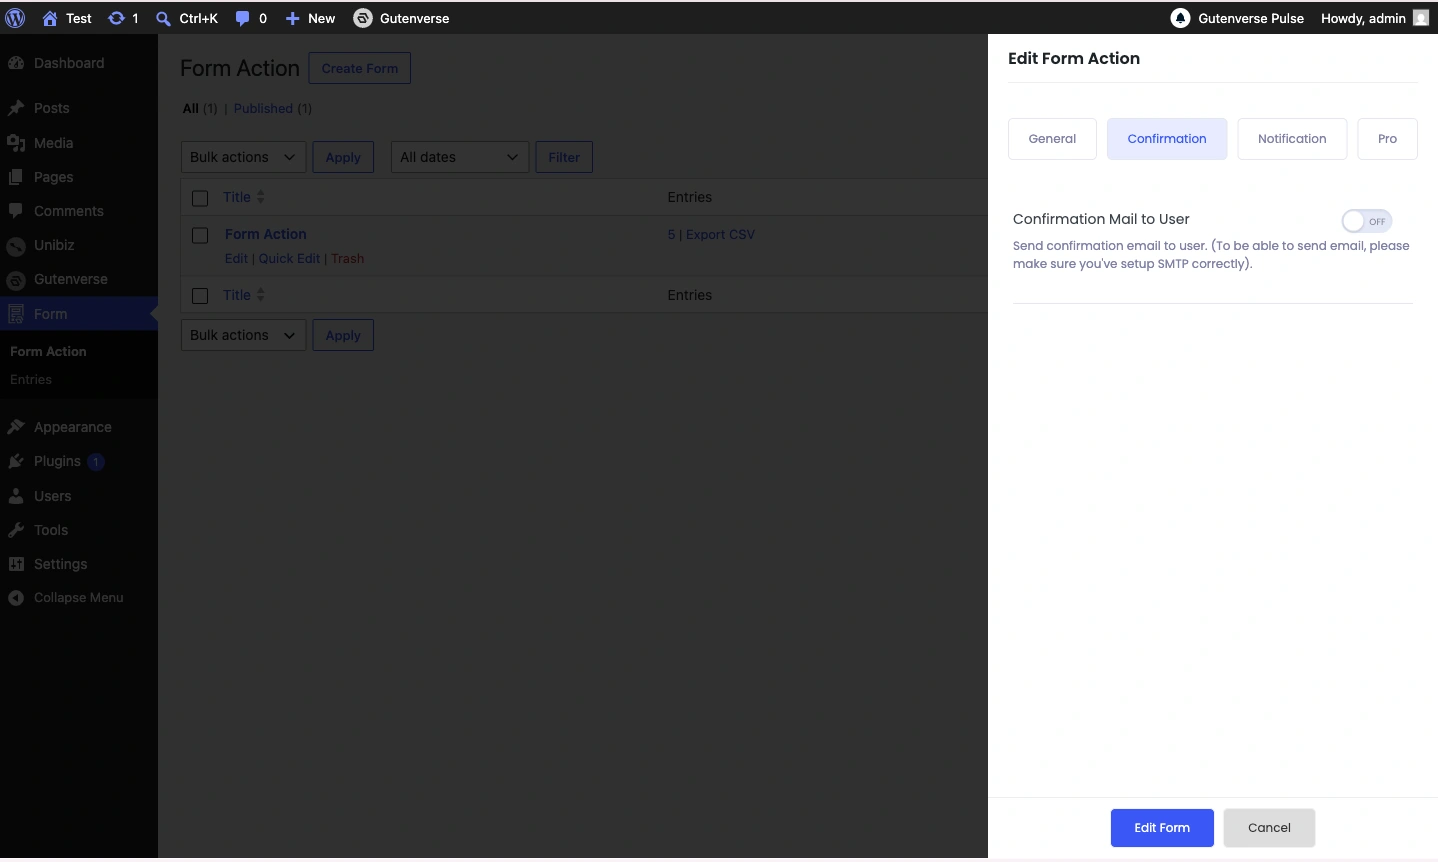
This sends an automatic reply email to the person who just contacted you. It is a small touch, but it makes a real difference. Visitors often wonder whether their message actually went through, especially if they are contacting you about something important. An auto-reply removes that uncertainty right away.
Note: this tab only works if your form includes an email input field, which it does if you followed the steps above.
Notification tab
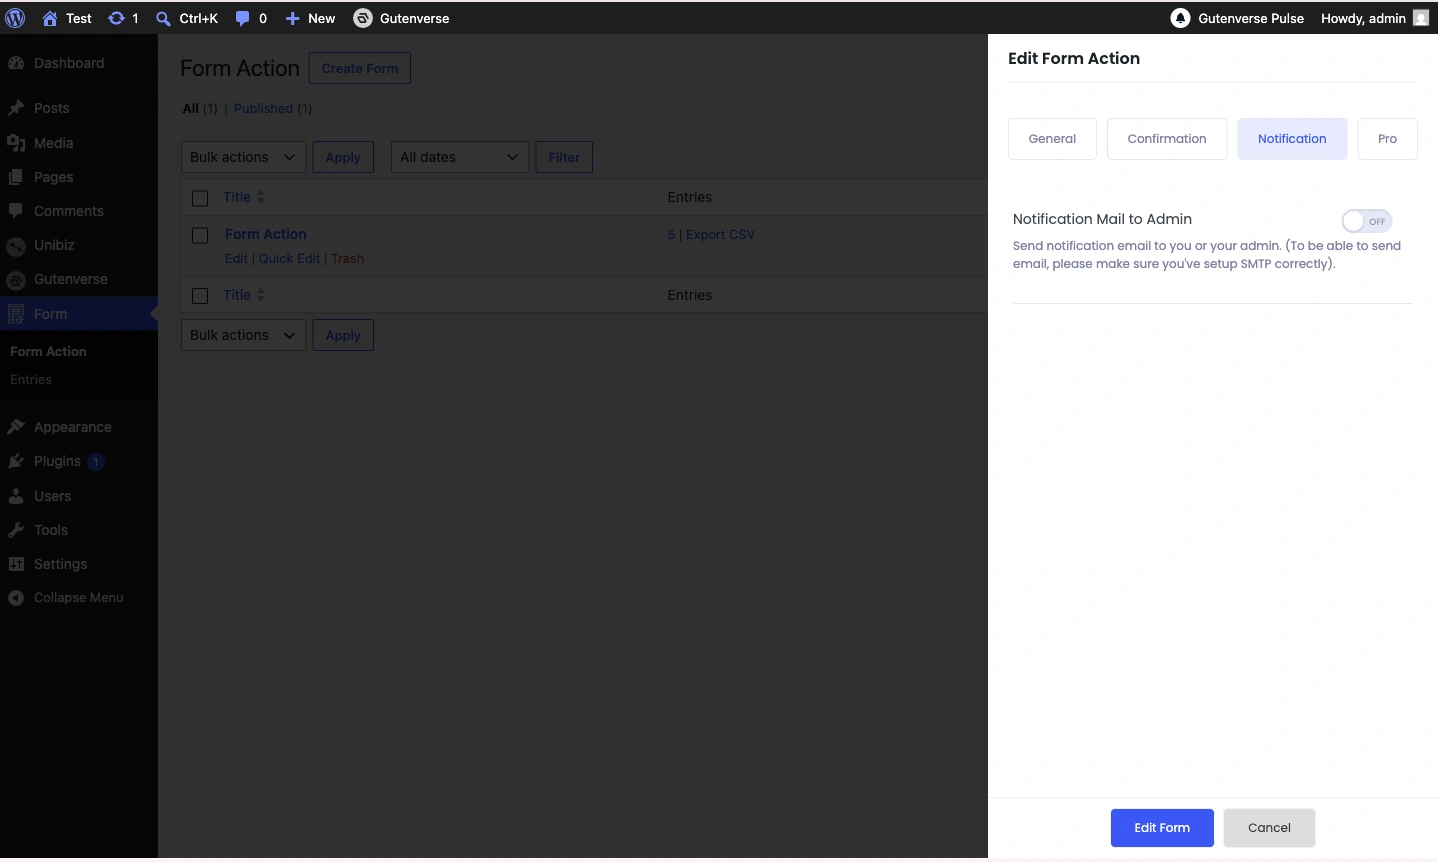
This is what sends an email to your own inbox every time someone submits the form. Without this switched on, you will not know when someone reaches out unless you manually check a submissions log. Make sure this one is turned on.
Step 4: Set Up SMTP So Your Emails Actually Arrive
As mentioned earlier, this step is important for any contact form on WordPress. Without SMTP, emails from your form may go to spam or fail to arrive completely.
A simple way to understand it: emails sent directly from a web server often look untrusted to providers like Gmail or Outlook. Because of that, they may block the message or send it to the junk folder. SMTP fixes this by sending emails through a trusted mail service with proper verification.
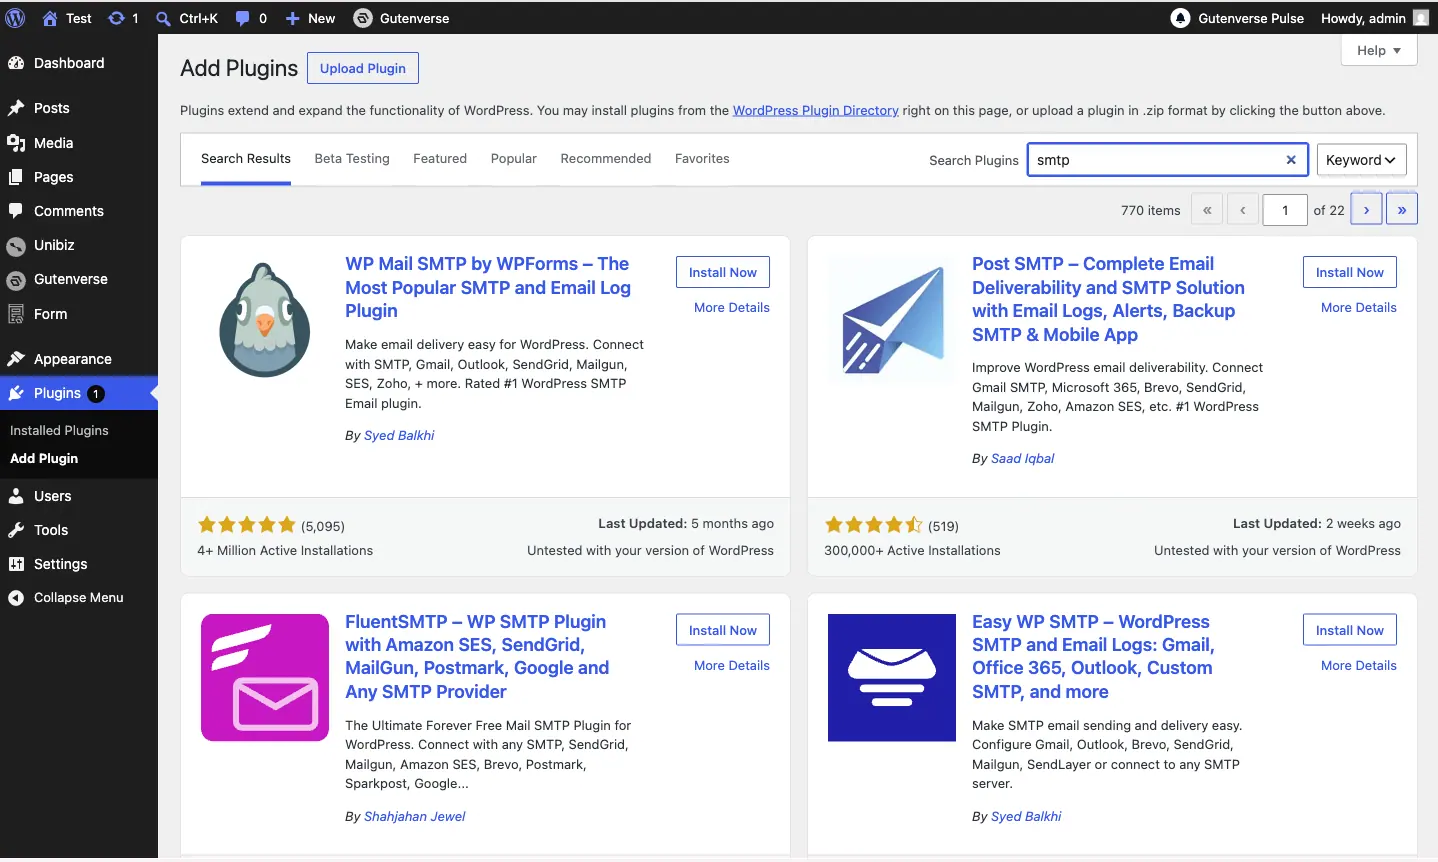
The easiest way to set this up is by installing a free SMTP (Simple Mail Transfer Protocol) plugin. These plugins usually guide you through connecting your website to the email service you want to use. There are many options available, so you can choose the one that fits your needs.
Once SMTP is set up, send yourself a test submission from the contact form to make sure everything is working properly before sharing the page with visitors.
Bonus: Add reCAPTCHA to Block Spam
Once your contact form is live, spam bots will eventually find it. This is normal for any form that is publicly available on the internet.
Gutenverse Form includes built-in support for Google reCAPTCHA, which adds a verification layer to block most automated spam without making things difficult for real visitors.
The easiest way to set this up is by installing a free SMTP (Simple Mail Transfer Protocol) plugin. These plugins usually guide you through connecting your website to the email service you want to use. There are many options available, so you can choose the one that fits your needs.
To set it up, register your website on Google reCAPTCHA and get a free key pair. Then:
The full setup process is covered step by step in the reCAPTCHA setup guide.
Final Thoughts
Adding a contact form to your website doesn’t need to be complicated. You don’t need to switch between different tools, learn another interface, or manage a separate dashboard. When the form is built directly inside the block editor, it becomes a natural part of the page-building process. Everything stays in one place, from adding fields to adjusting the design and managing form actions.
Want to explore more ways to use the form builder? You can go through Gutenverse form features page to see a full overview including live examples of contact forms, booking forms, multi-step forms, and more.
If you would like to create a contact form from scratch and display it in a popup, you can follow this tutorial to set it up.
Found this guide helpful? Feel free to share it with a friend or anyone who might need it. See you in the next post!